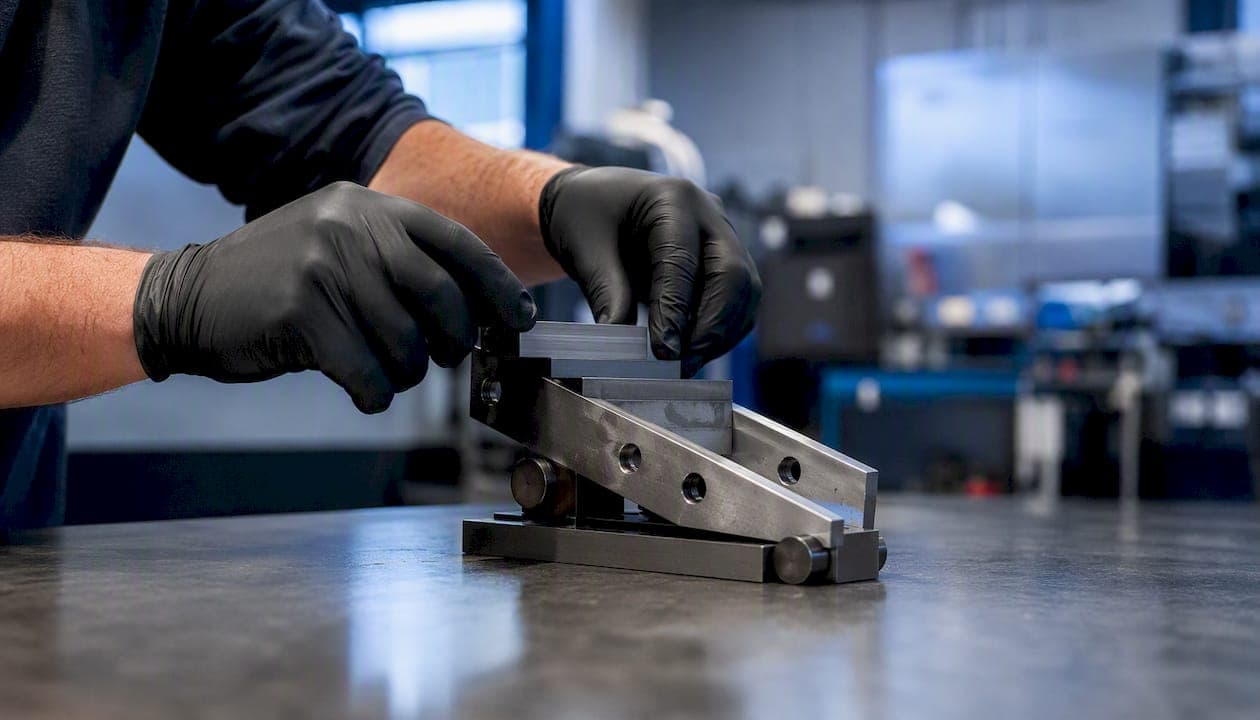
The sine bar formula is simple: H = L × sin(θ), where H is the gauge-block stack height, L is the center-to-center distance between the bar's precision rolls, and θ is the target angle. Run it backward with θ = arcsin(H / L) when you need to find an unknown angle from a measured height.
Here's a real number to anchor it: put a 5.000-inch sine bar at 30° and you need H = 5.000 × sin(30°) = 2.5000 inches of gauge blocks under the roller. That's the whole calculation. No iteration, no lookup table, just trig.
- Forward: H = L × sin(θ)
- Reverse: θ = arcsin(H / L)
- 5.000" bar at 30° → H = 2.5000"
Pro Tip: The single most common error isn't the math. It's using the bar's overall length instead of the true roll center-to-center distance for L. Get L wrong and every angle you set afterward is wrong by the same proportion.
Key Takeaways
The sine bar formula H = L × sin(θ) converts any target angle into an exact, verifiable gauge-block stack height, and its accuracy depends entirely on correctly measuring L.
| Point | Details |
|---|---|
| Core formulas | H = L × sin(θ) sets an angle; θ = arcsin(H / L) finds an unknown angle from a measured height. |
| L means roll centers | Always measure center-to-center distance between the rolls, never the bar's overall length. |
| Wringing matters | Clean, properly wrung gauge blocks remove the air gaps that quietly throw off stack height. |
| Sensitivity drops near 90° | Angular error grows as θ increases because height change per degree shrinks near vertical. |
| Availzye speeds verification | Availzye Machinist Pro's sine bar calculator handles forward/reverse math, DMS conversion, and logs setups for job records. |
Table of Contents
- Why the Sine Bar Formula Works: The Geometry Behind It
- How Do You Set Up a Sine Bar on a Surface Plate?
- Worked Examples: Calculating H for a Target Angle
- How Do You Find an Angle from a Measured Height?
- Measuring Compound Angles with a Sine Bar
- What Causes Sine Bar Measurement Errors?
- Which Calculators Actually Speed Up This Work?
- A Practical Note on Bar Selection
- Get Sine Bar Setups Right the First Time
- Frequently Asked Questions
- Sources
Why the Sine Bar Formula Works: The Geometry Behind It
The sine bar and its gauge-block stack form a right triangle sitting on your surface plate. The bar itself is the hypotenuse. The gauge-block stack height is the side opposite your target angle. The surface plate is the adjacent side. That's it — basic right-triangle trigonometry, applied physically instead of on paper.
L is not the bar's overall length. It's the distance between the centers of the two precision rolls, and that distinction matters more than anything else in this process.
The math only works if L is the roll center-to-center distance. Measure the wrong dimension and the sine relationship no longer describes the triangle you actually built.
Picture the diagram: two roll centers define the base points, the workpiece or reference surface sits on top of the bar, and the gauge-block stack lifts one end to height H. The angle between the bar's top surface and the plate is θ. Once you see it as a triangle, the formula stops being abstract.
How Do You Set Up a Sine Bar on a Surface Plate?
Setting an angle correctly comes down to sequence, not difficulty. Skip a step and the error compounds silently.
- Check the surface plate. Clean it and confirm flatness before placing anything on it. A speck of grit under a gauge block throws off H by a measurable amount.
- Verify L. Measure across the outer surfaces of the two rolls, then subtract the roll diameter to isolate the true center-to-center distance. Never trust the number stamped on the bar without checking it yourself the first time you use a given bar.
- Calculate H using H = L × sin(θ) for your target angle.
- Wring the gauge blocks together and to the plate. Wringing removes the air gap between blocks and creates near-zero-thickness contact.
- Assemble the stack, place the sine bar against it, and set your workpiece on the bar's top surface.
- Check with a dial indicator. Sweep the reference surface and adjust the stack until the indicator reads zero across the length you're checking.
- Record the final H and the L you verified, for your job traveler or setup sheet.
Pro Tip: Handle gauge blocks by their edges, never the gauging surfaces. Body heat and finger oils are enough to introduce thermal and contamination error on a tight tolerance job.
Worked Examples: Calculating H for a Target Angle
The forward calculation is where most sine bar work actually happens, since machinists usually start with a drawing angle and need a stack height.
Example 1: A 5.000" sine bar set to 30°. Since sin(30°) = 0.5, H = 5.000 × 0.5 = 2.5000 inches exactly. Clean, round, no rounding compromise needed.
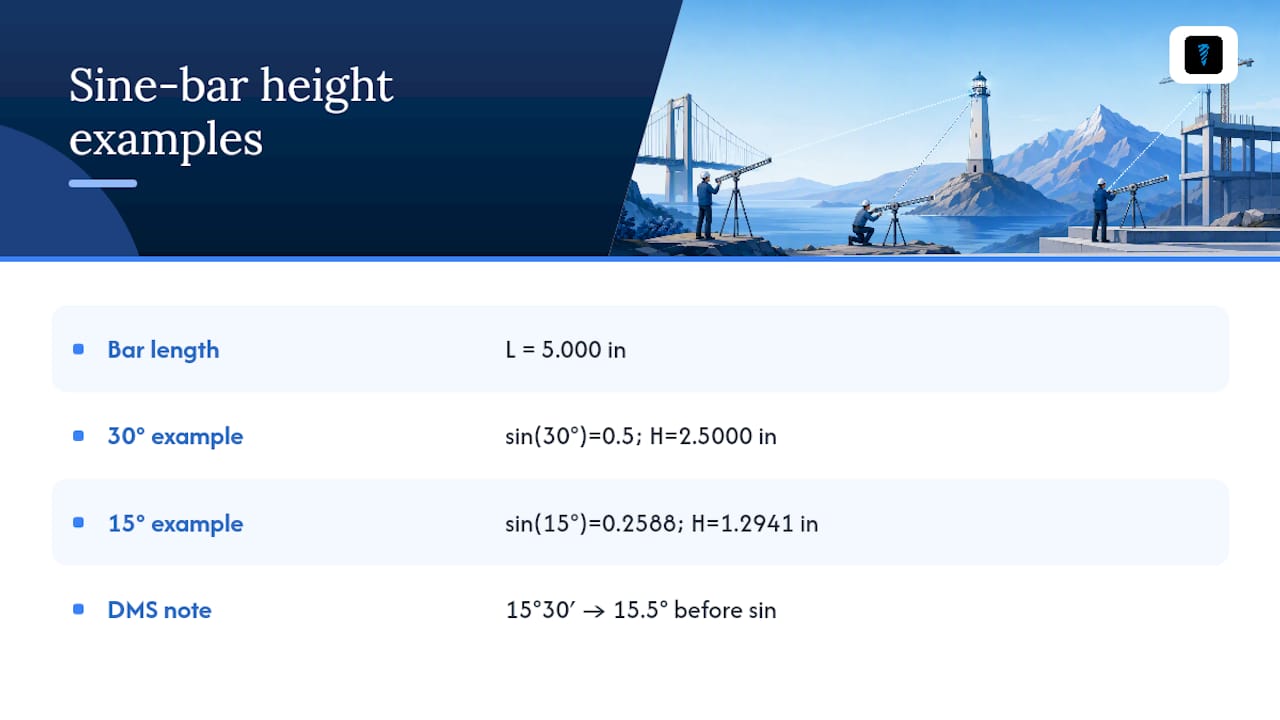
Example 2: The same 5.000" bar set to 15°. Sin(15°) = 0.2588, so H = 5.000 × 0.2588, the gauge-block stack height is calculated accordingly. That's not a round number, so you build it from a gauge-block combination summing to 1.2941" using the fewest blocks and wringing surfaces possible.
If a drawing calls out an angle in degrees, minutes, and seconds rather than decimal degrees, convert first. 15° 30′ becomes 15.5° before it goes anywhere near the sine function, or you feed it into a calculator that accepts DMS input directly.
How Do You Find an Angle from a Measured Height?
Sometimes you're not setting an angle. You're inspecting one, and you need θ from a stack you've already measured.
- Measure H with a height gauge or micrometer stack, then apply θ = arcsin(H / L).
- For a long workpiece, take two readings, H1 and H2, at the two ends across distance L, and compute θ = arcsin((H2 − H1) / L).
- Watch the ratio at high angles. As θ climbs toward 90°, small height changes barely move the needle, and a 0.0001-inch error on a 5-inch bar at 30° corresponds to roughly 4.76 arc-seconds of angular uncertainty, worse at steeper angles where sensitivity drops further.
At low H/L ratios, ordinary measurement noise starts to dominate the result, so treat any reverse calculation near the extremes of your bar's range with extra skepticism.
Measuring Compound Angles with a Sine Bar
Compound angles combine tilt in two axes at once, and the practical formula is θ = arctan(√(tan²A + tan²B)), where A and B are the two individual axis angles. A part tilted 10° in one axis and 15° in the other gives an effective compound angle of arctan(√(tan²10° + tan²15°)), around 17.8°.
- Set the primary axis with one sine bar or sine plate, lock it, then set the orthogonal axis with a second sine bar or plate stacked on the first.
- Measure the resulting surface and back-calculate the compound angle if you need to verify against a drawing.
- Small-angle approximations (tan θ ≈ θ in radians) simplify hand calculations when both axis angles stay under roughly 10°, but they lose accuracy fast beyond that.
- Past about 60° on either axis, angular sensitivity gets poor enough that angle gauge blocks become the more reliable choice.
Fabrication work involving compound tapers, like the kind seen in symmetrical taper fittings, often uses this same two-axis logic even outside pure machining contexts.
What Causes Sine Bar Measurement Errors?
Most sine bar errors trace back to a handful of repeat offenders, and every one of them is checkable before you commit to a cut.
- A dirty surface plate or gauge block, or blocks that weren't properly wrung together.
- An incorrect or unverified L, measured from the wrong surfaces.
- Worn or mismatched roll diameters on an older bar.
- Thermal expansion from handling or an uneven shop temperature.
- A dial indicator mounted or zeroed incorrectly during the parallelism check.
A useful rule of thumb: δθ ≈ δH / (L × cos θ). A 0.0002-inch stack error on a 5-inch bar at 45° works out to roughly 0.0000566 radians, or about 11.7 arc-seconds. That number gets worse as θ climbs, because cos θ shrinks in the denominator.
Mitigate it by re-verifying L on a regular schedule, keeping every component spotless, favoring a longer bar when angular sensitivity actually matters, and logging your verification checks so drift shows up before it costs you a part.
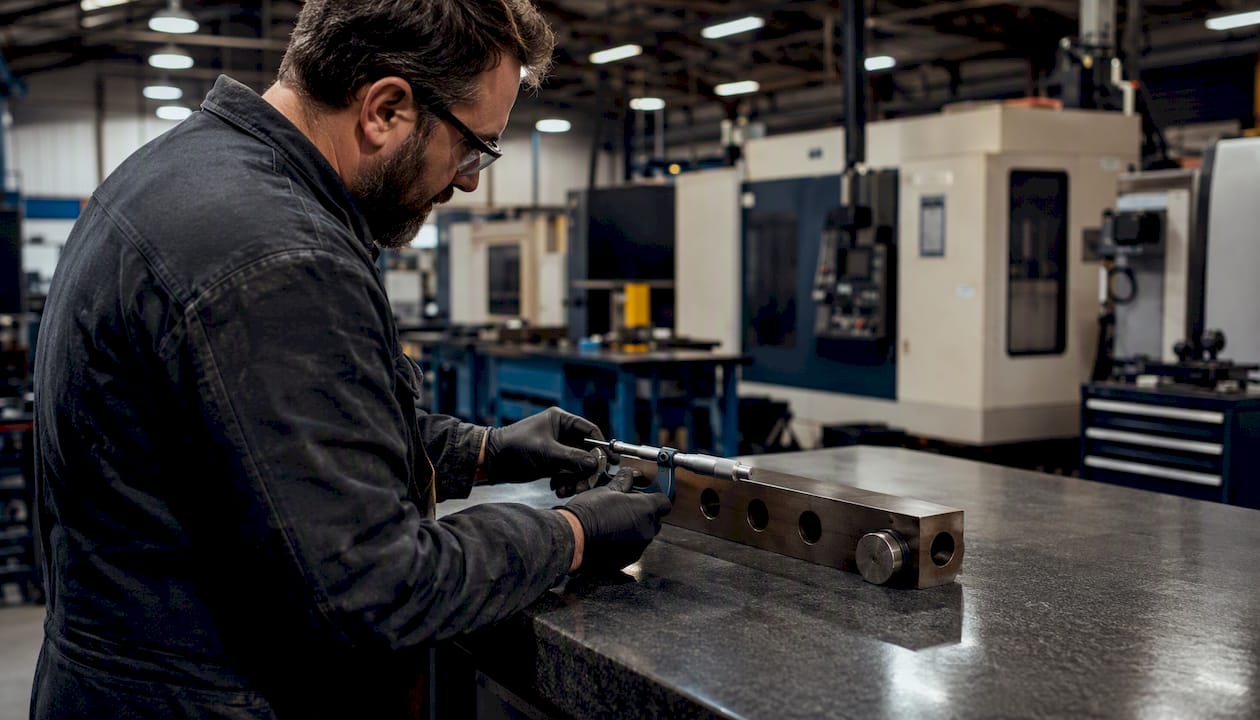
Pro Tip: Before any critical setup, run a three-step check: remeasure L, stack blocks for a known angle you can verify against a reference, and log the deviation. Thirty seconds now saves a scrapped part later.
Which Calculators Actually Speed Up This Work?
A forward/reverse sine-bar calculator earns its place in any shop doing angle work regularly, and the good ones do more than plug numbers into H = L × sin(θ).
- DMS converters so drawing callouts in degrees, minutes, and seconds don't need manual conversion before you calculate.
- Compound-angle utilities for two-axis tilts, saving you from working through the arctan(√(tan²A + tan²B)) formula by hand every time.
- Gauge-block stack optimizers that suggest the combination needing the fewest wringing surfaces for a given H.
- Availzye Machinist Pro's sine bar calculator handles the forward and reverse math directly, and pairs naturally with the taper calculator when a job needs compound-angle cross-checking.
- Saved L values in Tool Crib mean you're not remeasuring the same bar's roll centers on every repeat job.
Use manual trig when you're teaching the concept or double-checking a calculator's output. Use a calculator for everything else, especially when the job needs a documented audit trail.
A Practical Note on Bar Selection
For fine angular work, a longer bar (10" over 5") gives better angular resolution for the same height-measurement precision, so it's worth keeping both sizes on hand rather than defaulting to whichever bar is closest to the vise. Keep a verified L log per bar. It saves you from re-measuring roll centers on every job and catches wear before it costs you a part.
Get Sine Bar Setups Right the First Time
Manual trig works, but re-deriving H = L × sin(θ) by hand on every job invites the exact rounding and DMS-conversion mistakes that cost machinists rework. Availzye Machinist Pro's sine bar calculator runs the forward and reverse math instantly, accepts drawing angles in degrees-minutes-seconds without a separate conversion step, and suggests gauge-block combinations that minimize wringing surfaces for your calculated H.

It also saves your verified L values per bar so you're not remeasuring roll centers on repeat jobs, and every calculation logs to your job record for traceability. Pair it with the G-code generator once your angle is set and you're ready to move from measurement straight into machining. Start a free 7-day trial and run your next sine bar setup through it before you touch a gauge block.
Frequently Asked Questions
What is the basic sine bar formula? H = L × sin(θ), where L is the roll center-to-center distance and θ is the target angle. Reverse it with θ = arcsin(H / L) to find an angle from a measured height.
Why does L matter more than the bar's overall length? The trig relationship only holds for the actual triangle formed by the roll centers. Using the bar's total length instead of true center-to-center distance introduces a proportional error into every angle you set.
How accurate is a sine bar setup? A properly wrung 5-inch bar can resolve angular error down to a few arc-seconds per 0.0001 inch of stack error, though sensitivity drops noticeably past about 60°, where angle gauge blocks become a better option.
Can a sine bar measure compound angles? Yes, using θ = arctan(√(tan²A + tan²B)) for two-axis tilts, typically by setting one axis with a sine bar and the second with an orthogonal sine bar or plate stacked on the first.
Sources
- Unit 3: Sine Bar – Manufacturing Processes 4-5
- CNC Sine Bar Calculator - Block Height & Angle Setup - TWC Industrial Calculators
- How to Set a Sine Bar Angle or Sine Plate Angle - Sine Bar Calculator
- Sine Bar: Online Calculator, Formulas, and Usage