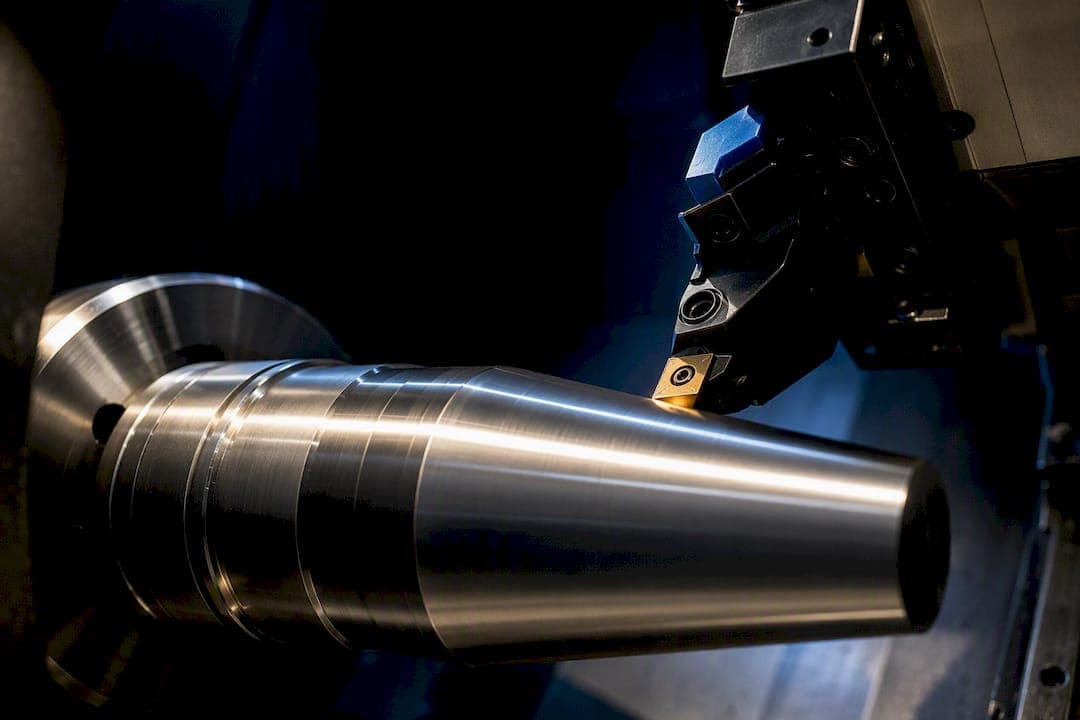
Five methods handle nearly every taper you'll cut on a lathe: compound rest, tailstock set-over, taper turning attachment, form tool, and CNC axis interpolation. Choose by taper length and included angle first, then by how many repeats you need: compound rest for short, steep tapers; tailstock set-over for long, shallow ones; an attachment or CNC for repeatable runs; a form tool for very short profiled work. The sections below walk through the math and the shop checks for each.
TL;DR:
- The form tool method is best for short tapers under one inch to avoid chatter and edge wear, requiring a rigid setup and low feed rates.
- The compound rest method effectively handles short, steep tapers with precise angle calculations, but slide travel limits its use to about 2-3 inches in length.
- The tailstock set-over method is ideal for long, shallow tapers, relying on accurate total workpiece length measurements and tight tailstock alignment.
- Taper attachments excel at repeatability and high-volume production, once properly calibrated with a test cut and cross-checks.
- CNC interpolation offers the highest accuracy and consistency for all taper lengths and angles, but requires programming and thorough verification before machining.
Table of Contents
- Form Tool Method for Short Taper Profiles
- Compound Rest Method: The Math Behind Short, Steep Tapers
- Tailstock Set-Over Method for Long, Shallow Tapers
- Taper Turning Attachment: Setup, Calibration, and Repeat Runs
- CNC Interpolation: Programming and Verifying Tapers
- Comparing the Five Methods at a Glance
- Formulas, Setup Checklist, and Where a Calculator Earns Its Keep
- Which Method Actually Wins on the Shop Floor
- Cut the Arithmetic Out of Every Taper Setup
- Sources
- FAQ
Form Tool Method for Short Taper Profiles
A form-ground tool reproduces the taper shape in a single plunge, which is exactly why it's limited to short work. The cutting edge is ground to the exact half-angle of the taper, then fed straight into the stock. There's no compound swing, no set-over calculation, no attachment setup. That simplicity is the appeal, and also the ceiling: anything longer than about half an inch to an inch starts fighting you on chatter and edge wear.
Because the entire edge engages at once, cutting forces run high and vibration risk climbs fast on anything but a rigid setup. Keep feed rates low and take a lighter axial depth of cut than you would with a single-point tool working incrementally. HSS holds an edge fine for short runs and is easy to regrind in-house; carbide insert form tools survive longer in production but cost more to profile.
- Best suited to short chamfers, small countersink-style tapers, and quick one-off jobs where grinding a custom profile still beats setting up a compound swing
- Rigid workholding matters more here than with any other method. Chuck runout or a long unsupported length will telegraph straight into the finished taper
- Avoid the method entirely on tapers longer than the tool's ground width, or on soft, gummy materials that tend to load the edge
- Finish with a light spring pass at the same feed to clean up deflection marks, then check the profile with a taper gauge or optical comparator before moving on
Compound Rest Method: The Math Behind Short, Steep Tapers
The compound rest method swings the top slide to the taper's half-angle and lets you cut by hand feed. The formula is straightforward:
α/2 = arctan((D − d) / (2L))
where D is the large diameter, d is the small diameter, and L is the taper length. Say you need a taper from 1.500 inches down to 1.000 inches over 2 inches of length: (1.500 − 1.000) / (2 × 2) = 0.125, and arctan(0.125) gives a half-angle of about 7.1 degrees. Set the compound to that reading off the swivel base scale.
- Pick a solid datum, ideally a shoulder rather than the raw end of the bar, since end-face error carries straight through into where the taper starts and stops
- Loosen the compound base bolts, swing to the calculated angle, and lock it down firmly before touching the workpiece
- Feed by hand using the compound slide crank; this method doesn't support power feed on most lathes, so expect a slower cut and more operator attention to feed consistency
- Take a roughing pass, measure both diameters, and correct the angle slightly if the taper is tapering the wrong amount
- Finish with a slow, steady hand feed and a sharp tool to avoid the faceting that comes from jerky compound movement
The catch is slide travel. Compound rest turning tops out around 2 to 3 inches on most lathes, which is why it's the default choice for Morse taper work, tool holders, and other short, steep geometry rather than long shaft tapers.
Pro Tip: Cut your test taper about a quarter-inch longer than needed, then check both diameters with a micrometer before committing to the finish pass. It's cheaper to fix an angle error on scrap stock than on the finished part.
Tailstock Set-Over Method for Long, Shallow Tapers
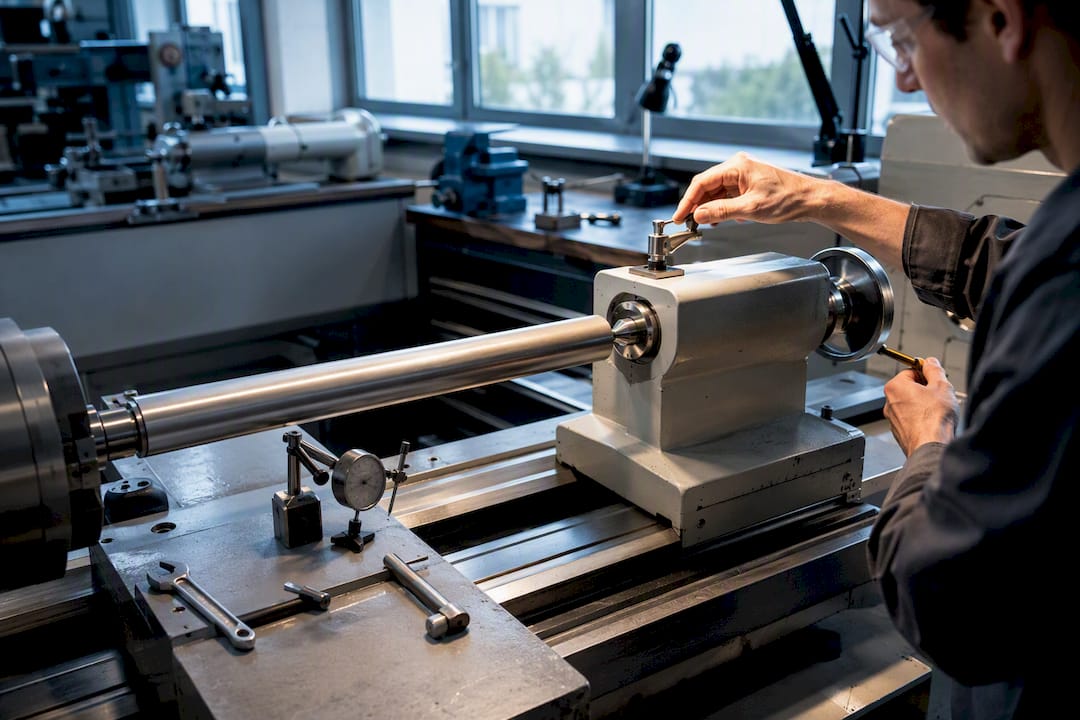
Tailstock set-over shifts the tailstock center off the spindle axis so the workpiece itself sits at an angle to the bed ways, letting you power-feed the full taper length in one pass. The governing formula is:
S = L_tot × sin(α/2)
where L_tot is the total workpiece length between centers, not just the taper length, and α/2 is the half-angle. For small angles, most shops use the simpler approximation S ≈ L_tot × (D − d) / (2L), which the taper turning calculator recommends only when the included angle stays modest, since the sine version holds accuracy at steeper angles where the approximation starts to drift.
- Indicate a test bar between centers before cutting, aligning the tailstock to a very tight tolerance over that length for acceptable accuracy
- Use the total part length in your set-over math, not the taper length alone. This is the single most common error in the method and it produces a taper with the right angle but the wrong actual diameters
- Works only on between-centers jobs, since you're physically offsetting the tailstock quill, which rules out chuck-only work
- Expect a good surface finish on long, shallow tapers since you're power-feeding continuously rather than hand-cranking a compound
0.0005 in over 12 in is the tailstock alignment tolerance recommended before cutting, and it's tighter than most operators expect for a "quick" offset job.
Verify your result by checking taper per foot against the target value once the cut is done, and don't skip a dry indicator check afterward. It costs two minutes and it's the fastest way to catch a tailstock that walked during the cut.
Taper Turning Attachment: Setup, Calibration, and Repeat Runs
Taper attachments bolt onto the back of the lathe bed and guide the cross-slide through a fixed angle without touching the tailstock or compound. Two designs dominate the shop floor. Simple, Baron-style attachments require you to physically disconnect the cross-feed screw before cutting, while telescoping attachments absorb the lateral motion internally and let you leave the cross-feed connected, which speeds up switching between straight and tapered work.
- Mount the attachment and set the guide bar to the target angle using its own scale or a protractor reference
- Run a 1.000 inch carriage-check pass: move the carriage exactly one inch and measure how far the cross-slide moved, then compare that to your calculated cross-slide travel per inch of taper
- Adjust the fine-adjust screw incrementally, rechecking with the same 1.000 inch travel test until the reading matches your target within a thousandth or two
- Preload the carriage to remove backlash before the finish pass, since any slop in the guide bar linkage shows up directly as taper waviness
Attachments earn their keep on repeat work. Once calibrated, you can cut the same taper over and over without resetting a compound angle or re-indicating a tailstock, which makes them the practical middle ground between one-off manual setups and a full CNC program.
CNC Interpolation: Programming and Verifying Tapers
CNC lathes cut tapers through coordinated linear interpolation, moving X and Z axes together under a single G01 command so the tool traces a straight angled line instead of a stepped one. You feed the controller start and end coordinates for both diameters and the length, and the control calculates the simultaneous axis feed rates that keep the tool on that line.
Programming a taper is only half the job. Long tapers are prone to form error if the toolpath doesn't account for tool nose radius compensation, so most postprocessors apply a radius offset automatically. Feed rate matters too: pushing too hard on a long, shallow taper can leave chatter marks that a slower finish pass would avoid.
- Dry-run the program in the air first, then step through a single-block cut on the initial part to catch offset errors before they hit real stock
- Probe the finished taper against a reference, or check it on a CMM, when the print calls for tight repeatability across a production run
- Cross-check taper per foot arithmetically against the programmed values before the first article ships. It's a thirty-second sanity check that catches a decimal-point error in the program
- CNC interpolation is the method of choice when a job needs both tight tolerance and high repeat count, since the axis motion doesn't drift the way a manual setup can over a long shift
Comparing the Five Methods at a Glance
| Method | Best taper length | Approx. max angle | Surface finish | Setup complexity | Repeatability |
|---|---|---|---|---|---|
| Form tool | Under 1 inch | Wide range (ground to shape) | Good with spring pass | Low | Moderate (edge wear) |
| Compound rest | 2 to 3 inches | Steep angles | Good with slow hand feed | Moderate | Low (manual, operator-dependent) |
| Tailstock set-over | Long, shallow tapers | Shallow to moderate | Very good, continuous feed | Moderate | Moderate |
| Taper attachment | Short to moderate, repeat runs | Moderate | Very good | Moderate to high (calibration) | High once calibrated |
| CNC interpolation | Any length | Any angle within travel | Excellent | High (programming) | Excellent |
Reading this table starts with your part print. A tool holder with a steep internal Morse taper and a two-inch length points straight at the compound rest, since slide travel and steep angle both fit that method's sweet spot. A three-foot shaft with a shallow taper for a bearing fit points the other way entirely, toward tailstock set-over or, if you're running fifty of them, CNC interpolation instead. Length and angle narrow the field first; production volume decides the rest.
Formulas, Setup Checklist, and Where a Calculator Earns Its Keep
Four formulas cover nearly everything above. Compound half-angle is α/2 = arctan((D − d) / (2L)). Tailstock set-over is S = L_tot × sin(α/2), with the small-angle version S ≈ L_tot × (D − d) / (2L) reserved for shallow angles. Conicity, or taper ratio, is K = (D − d) / L, and taper per foot scales that ratio to a 12-inch reference length. Run one quick example: a taper from 2.000 to 1.750 inches over 6 inches gives K = 0.0417, or roughly 0.5 inch per foot, a number worth comparing against published Morse taper values before you trust a fitted part.
- Choose a functional datum, a shoulder or a locating face, rather than the raw bar end, since a bad reference face creates a taper that starts or ends off-target no matter how correct your angle math is
- Indicate a 12-inch test bar and align the tailstock to within 0.0005 inch over that length before any offset cut
- Check bed twist with a machinist's level if the part is long or the finish has been inconsistent across recent jobs
- Preload the carriage or cross-slide to remove backlash before your finish pass, particularly on taper attachment setups
- Make a short test cut, measure both diameters, and calculate actual taper per foot before committing to the full-length pass
- Verify with a gauge, ring, or CMM once the arithmetic checks out
Hand math is where most taper scrap actually originates, usually from grabbing the tangent formula when the angle called for sine, or forgetting that set-over uses total part length, not taper length. A taper angle calculator that returns compound angle, set-over, conicity, and taper per foot from one set of inputs removes that failure point entirely, since it enforces the correct formula variant automatically instead of leaving it to memory.
Pro Tip: Run your part numbers through a calculator before you touch the compound or tailstock, then write the result on the traveler. It takes thirty seconds and it's cheaper insurance than a scrapped shaft.
Which Method Actually Wins on the Shop Floor
Most of the debate over taper methods disappears once you stop treating it as a preference question and start treating it as a geometry question. Short and steep means compound rest. Long and shallow means tailstock set-over. Repeat runs mean an attachment or CNC, full stop. The part print settles this before you ever touch the machine.
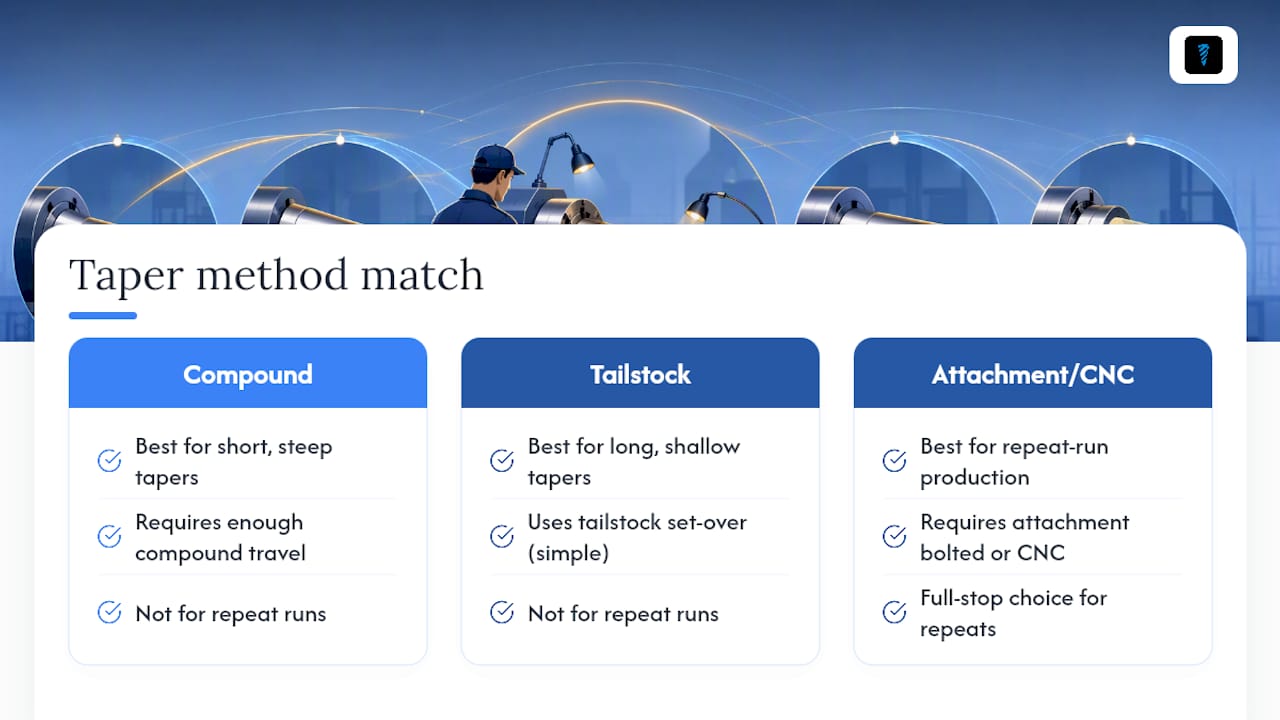
What separates a smooth setup from a frustrating one usually comes down to constraints nobody puts on the print: whether the machine has enough compound travel, whether an attachment is even bolted to that lathe, whether your shop has a CMM or just a bore gauge and a steady hand. Match the method to what you actually have, not what the textbook prefers.
Verify before you commit to the finish pass, every time. A thirty-second arithmetic check or a quick indicator sweep catches the mistakes that turn a good part into scrap.
— Availzye
Cut the Arithmetic Out of Every Taper Setup
Every method above depends on getting one number right before you touch the compound, the tailstock, or the attachment's fine-adjust screw. The Availzye taper calculator takes your diameters and length and returns compound angle, tailstock set-over, conicity, and taper per foot in one pass, so you're not switching between a formula written on a shop rag and a calculator app halfway through setup.

It's built into the same platform as feeds and speeds, thread and tap drill sizing, and a G-code generator for translating that taper geometry into programmed axis moves on a CNC job. The platform offers multiple subscription plans with a free trial period to accommodate different user needs. Set up your next taper job, run the numbers through the calculator before you lock the compound, and see what a verified setup looks like on your own part. Start the free trial and pull up the taper calculator on your next job.
Sources
For the formulas and method definitions behind this guide, the lathe machine taper guide and taper turning calculator cover the math in depth. For hands-on setup, the tailstock offset procedure and taper attachment calibration guide are the most useful single-page references for alignment work.
FAQ
What Are the Five Methods of Taper Turning?
The five methods are compound rest, tailstock set-over, taper turning attachment, form tool, and CNC axis interpolation. Manual lathes typically rely on the first four, while CNC machines cut tapers through coordinated X and Z axis movement instead.
What Is the Formula for Taper Turning?
It depends on the method. Compound rest angle uses α/2 = arctan((D − d) / (2L)), tailstock set-over uses S = L_tot × sin(α/2) (or the small-angle approximation for shallow tapers), and conicity or taper ratio is calculated as K = (D − d) / L, as detailed in the taper turning calculator guide.
How Can Tapers Be Turned on a Lathe?
You turn a taper by angling either the cutting tool's path or the workpiece itself relative to the spindle axis, using a compound rest swing, a tailstock offset, a taper attachment, a ground form tool, or a CNC program with interpolated axis motion. The right choice depends mainly on taper length, included angle, and how many parts you need to make.
What Is the Form Tool Method in Taper Turning?
The form tool method uses a cutting tool ground to the exact taper angle, fed straight into the workpiece to reproduce the profile in one motion. It works well for short tapers under an inch or so but isn't practical for longer work due to cutting force and vibration.
Can Software Help Reduce Taper Turning Setup Errors?
Yes. Automated calculators enforce the correct formula variant and return compound angle, set-over, conicity, and taper per foot from the same inputs, which removes a common source of scrap. Availzye Machinist Pro's taper calculator is built for exactly this step in the setup workflow.