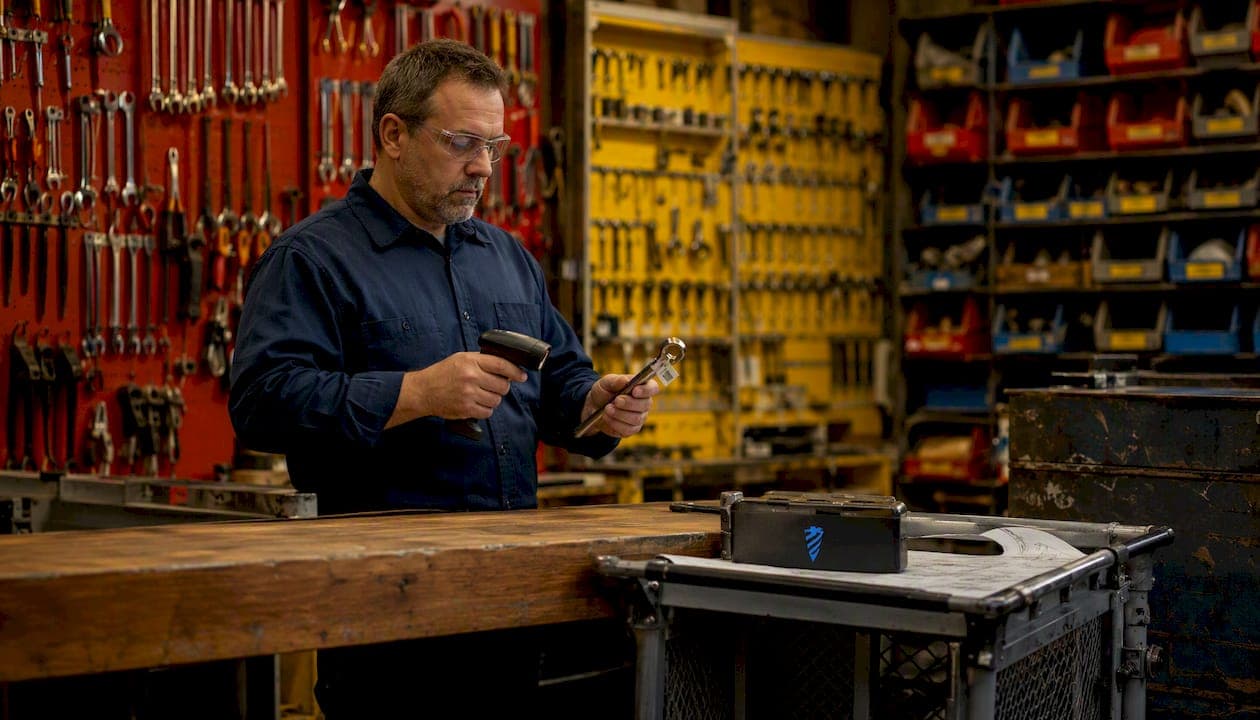
Start with a scan-based check-out/check-in workflow and one authoritative digital register. That single decision eliminates most of the chaos in a poorly run toolroom. Availzye Machinist Pro's Tool Crib module gives you check-in/check-out, low-stock alerts, tool life logging, and role-based access in one cloud-based platform.
Quick action checklist to get started today:
- Label every tool with a barcode or QR code before anything else
- Import your existing inventory into a single digital register (CSV works fine)
- Deploy phone-based scanning so any technician can check tools in or out without dedicated hardware
- Set return windows for each tool category and assign due dates at check-out
- Enable audit logs and role-based access from day one, not as an afterthought
Pro Tip: Don't try to digitize everything at once. Label your ten most-borrowed tools first, run a two-week pilot in one area, then scale. Shops that start small go live faster and stick with the system longer.
Table of Contents
- What is a tool crib, and who runs it?
- How should you set up the physical crib?
- What features does tool crib software actually need?
- What does a solid check-out/check-in SOP look like?
- Who does what, and how do you train them?
- How do you implement a tool crib system step by step?
- What KPIs prove the system is working?
- How does Availzye Machinist Pro handle tool crib management?
- Key Takeaways
- The part most rollout guides get wrong
- Try Availzye Machinist Pro for your tool crib
- Useful sources and further reading
What is a tool crib, and who runs it?
A tool crib, sometimes called a toolroom or tool store, is a centralized storage and controlled distribution point for hand tools, power tools, test equipment, gauges, and small assemblies. The crib is not a general storage closet. Its purpose is to make the right tool available to the right person at the right time, while keeping an accurate record of where every item is.
The person responsible is typically a tool crib attendant in larger facilities, or a maintenance supervisor or designated inventory steward in smaller shops. The attendant's core duties include issuing and receiving tools, flagging overdue items, triggering restocks, logging damage, and keeping the physical space organized. In unionized environments, the attendant role often carries specific job classifications and authority limits.
The crib sits at the intersection of three departments: maintenance (which needs tools to complete work orders), production (which needs tooling to run machines), and purchasing (which needs accurate consumption data to reorder). When the crib is managed well, all three departments move faster. When it isn't, each one compensates with hoarding, duplicate purchases, or unplanned downtime.
Pro Tip: Give the crib attendant explicit authority to refuse a check-out when a tool is overdue from the same requester. Without that authority, the attendant becomes a passive dispenser rather than an active inventory steward.
How should you set up the physical crib?
Layout and flow
The physical layout should follow a simple one-way flow: entry and request counter at the front, active storage behind it, and a maintenance staging area at the rear for tools awaiting repair or calibration. Keep the issue counter narrow enough that only one transaction happens at a time. A cramped counter forces queues, which is actually useful: it discourages casual browsing and keeps the attendant in control of what leaves.
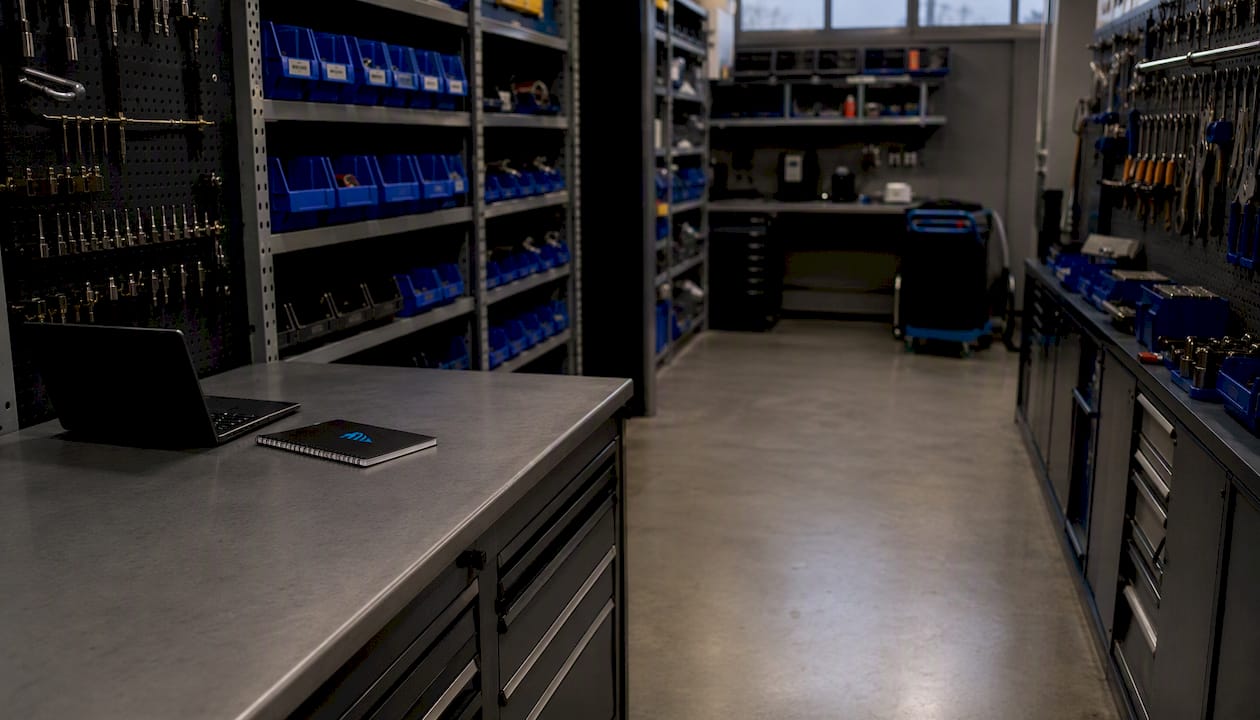
Compact layouts reduce search time more than large, open ones. If a technician can see the entire crib from the counter, the attendant can confirm availability by sight before pulling up the software.
Storage hardware choices
| Storage Type | Best For | Approximate Cost Signal | Notes |
|---|---|---|---|
| Shadow boards | High-frequency hand tools | Low | Visual gaps immediately show missing items |
| Foam inserts (drawer) | Precision gauges, small tooling | Medium | Protects calibrated instruments |
| Bin shelving | Consumables, fasteners, inserts | Low | Pair with min/max labels |
| Secure lockers | High-value or regulated items | Medium–High | Requires key or PIN access |
| Vending machines | 24/7 operations, consumables | High | Automated check-out, no attendant needed |
Vending machines make sense when the shop runs multiple shifts and an attendant is not always present. For most day-shift operations, shadow boards and labeled bin shelving deliver the same accountability at a fraction of the cost.
Tagging options: barcode vs. QR vs. RFID
Barcode and QR scanning using standard smartphone cameras covers the majority of crib operations without any dedicated hardware investment. Here is how the three main options compare:
- Barcode (1D): Lowest cost, widest scanner compatibility, but holds limited data. Best for simple item identification.
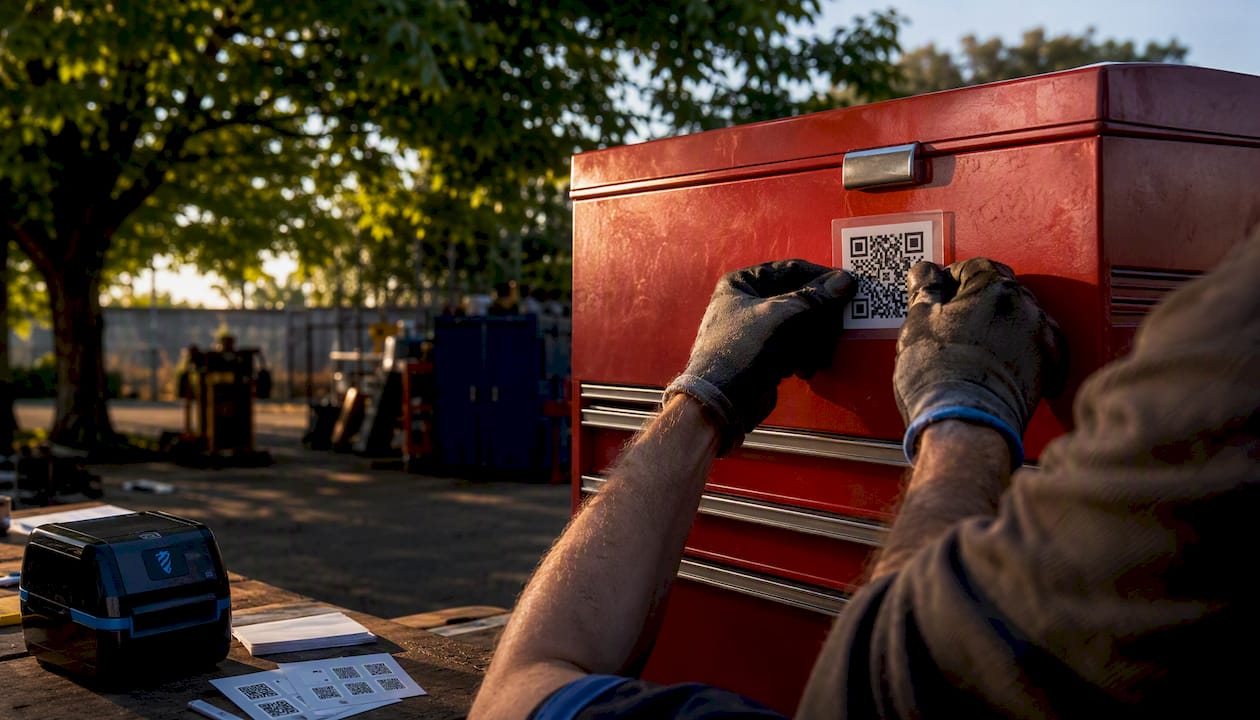
- QR code (2D): Slightly more data capacity, scans from any angle with a phone camera, and prints on standard label stock. The practical default for most shops.
- RFID: Reads without line-of-sight, handles bulk scanning, and works in high-traffic cribs. Hardware cost is higher, and tags are not suitable for all metal tools without spacers.
For a first deployment, QR codes on polyester or anodized aluminum labels are the right call. RFID becomes worth the investment when you are managing more than a few hundred active items or running a vending machine integration.
Labeling and security
Nested location labels (building → room → shelf → bin) let you encode a tool's home position in the system. When a technician returns a tool to the wrong bin, the system flags it at the next audit. Use durable polyester or metal-foil labels in shop environments; paper labels peel within weeks.
Security beyond the physical lock means role-based access in your software, a log of every transaction, and a clear overdue follow-up procedure. Audit logs are not optional if you ever need to resolve a dispute about a missing tool or a calibration failure.
Pro Tip: Print the tool's asset ID and home location directly on the label. When a tool is found on the floor, anyone can return it to the right bin without opening the software.
What features does tool crib software actually need?
Core must-haves
Scan-based check-in/check-out is the foundation. Every transaction should record item ID, user, job or work order number, due date, and condition at check-out. Real-time availability updates and a full audit trail per item are non-negotiable.
Overdue alerts, nested location tracking, and calibration reminders round out the core feature set. Calibration tracking specifically matters for regulated instruments: the system should place an automatic hold on a tool when its calibration date passes, preventing it from being issued until it clears inspection.
Must-have vs. nice-to-have
| Feature | Priority | Why It Matters |
|---|---|---|
| Scan-based check-in/check-out | Must-have | Eliminates paper logs and real-time gaps |
| Audit trail per item | Must-have | Required for compliance and dispute resolution |
| Low-stock alerts / reorder points | Must-have | Prevents stockouts before they cause downtime |
| Role-based access | Must-have | Controls who can write off, adjust, or transfer |
| Calibration / maintenance scheduling | Must-have | Keeps regulated tools out of circulation when due |
| Multi-site / nested locations | Must-have for multi-site | One register for cribs, vans, and satellite stores |
| ERP / CMMS integration | Nice-to-have | Automates purchase requisitions and work orders |
| Vending machine integration | Nice-to-have | Useful for 24/7 or high-volume consumables |
| RFID support | Nice-to-have | Adds speed at scale; not needed for most pilots |
| Mobile app (offline mode) | Nice-to-have | Valuable for field or remote locations |
Cloud-based platforms support multi-site transfer and nested location structures, so one register can cover cribs, service vans, and satellite stores simultaneously. That architecture matters more than most shops realize until they try to reconcile tools that moved between locations without a transfer log.
Integrations worth having
Systems that connect to a CMMS or ERP can auto-create purchase requisitions when stock falls below a reorder point, removing the manual step that most shops skip until they run out. Single sign-on (SSO) or LDAP integration simplifies user provisioning in larger facilities. Barcode label printing from the software itself saves a separate workflow step during setup and ongoing adds.
What does a solid check-out/check-in SOP look like?
Check-out workflow
- Technician presents ID (badge scan or login) at the crib counter or kiosk.
- Attendant or technician scans the tool's QR/barcode label.
- System records: item ID, technician name, work order or job number, date/time, and expected return date.
- Attendant notes condition at issue (any pre-existing damage logged in the condition field).
- System updates availability to "checked out" in real time.
Check-in workflow
- Technician returns tool to the crib counter.
- Attendant scans the label and confirms the returning user.
- Condition is checked: if damaged, a damage flag is raised and the item moves to the maintenance staging area rather than back to the shelf.
- System records return date/time and updates availability.
- If the tool is overdue, the system logs the overdue event automatically.
Replenishment triggers
- Minimum stock level reached: system generates a restock alert to the attendant and, if integrated, a purchase requisition to purchasing.
- Attendant reviews the alert, confirms quantity, and approves or escalates.
- Modern crib modules handle wear part definitions and minimum stock checks automatically, so the attendant is confirming rather than calculating.
Exception handling
- Lost tool: Attendant raises a loss event in the system, records the last known user and job, and initiates a write-off after supervisor approval. The audit log preserves the full history.
- Damaged item: Moves to maintenance staging. A repair or replacement work order is created. The item stays unavailable in the system until cleared.
- Calibration failure: System places an automatic hold. The tool cannot be issued until a new calibration record is entered and approved.
- Overdue escalation: First alert at due date, second alert 24 hours later, supervisor notification at 48 hours. The cadence should be configured in the software and documented in the SOP.
Who does what, and how do you train them?
Role matrix
- Tool crib attendant: Issues and receives tools, logs damage, triggers restocks, runs daily cycle counts, and escalates overdue items. Primary system user.
- Maintenance technician: Checks tools in and out, reports damage at return, and follows return windows. Read-only access to their own history.
- Maintenance supervisor: Approves write-offs, reviews overdue reports, and sets reorder points. Manager-level access.
- Purchasing: Receives automated reorder alerts, approves purchase requisitions, and updates receipt records. Limited write access to inventory quantities.
- Operations lead: Reviews utilization reports and KPI dashboards. Read-only access.
Training checklist
- Initial onboarding (day 1): System login, check-out/check-in scan drill with a test item, location lookup, and condition logging.
- Week 1: Supervised live transactions, overdue alert response, and damage flag procedure.
- Month 1: Cycle count participation, restock approval workflow, and report review.
- Annual refresher: Policy updates, new feature walkthrough, and audit procedure review.
Keep training sessions short and hands-on. A 20-minute scan drill beats a two-hour slideshow every time.
Pro Tip: Create a laminated one-page quick-reference card for the check-out/check-in steps and post it at the crib counter. New technicians stop asking the attendant for help within a day.
How do you implement a tool crib system step by step?
Phased rollout
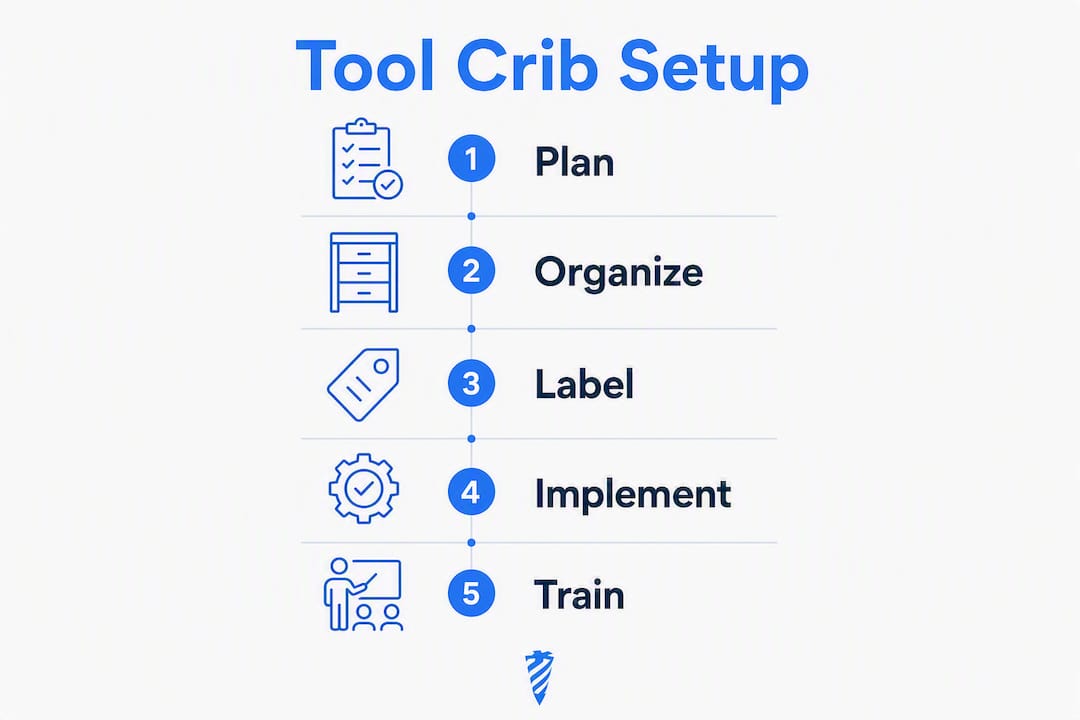
- Planning (Week 1): Audit current inventory, assign item IDs, define location hierarchy, and choose tagging method.
- Physical setup (Week 2): Install shelving, shadow boards, and bins. Print and apply labels to the pilot tool set.
- Software setup (Week 2–3): Configure the system, import the pilot CSV, set reorder points, and create user accounts with correct access levels.
- Pilot (Weeks 3–4): Run the system in one area or one shift. Track check-out/check-in compliance, overdue rate, and any data quality issues.
- Iterate (Week 5): Fix label placement issues, adjust reorder points, and retrain anyone with low compliance.
- Full rollout (Weeks 6–8): Expand to remaining areas, complete full inventory import, and hand off to the attendant for ongoing operations.
Sample timeline
| Phase | Duration | Key Output |
|---|---|---|
| Planning and audit | 1 week | Item list, location map, tag decision |
| Physical setup | 1 week | Labels applied, shelving configured |
| Software setup | 1–2 weeks | System live, pilot CSV imported |
| Pilot (one area) | 2 weeks | Compliance data, issue log |
| Iteration | 1 week | Fixes applied, reorder points tuned |
| Full launch | 2 weeks | All areas live, training complete |
Small-shop migrations can be completed in a single day when CSV import templates and label printing are prepared in advance. Larger facilities with hundreds of items typically need the full 6–8 week schedule.
Cost considerations
Software subscriptions for cloud-based tool tracking typically run from under $10/month for a single user to $50/month for a team, depending on seat count and features. Label printing requires a standard thermal label printer ($80–$200 one-time) and polyester label stock. RFID hardware adds cost if you go that route, but QR-based pilots need nothing beyond a smartphone. Staff time for the initial inventory audit is usually the largest hidden cost: budget one to two hours per hundred items for a first-time count and label application.
Pro Tip: Run your pilot on the 20% of tools that account for 80% of your check-outs. You get the most data from the least effort, and you can prove ROI before committing to a full rollout.
What KPIs prove the system is working?
The metrics that matter most in a managed toolroom are the ones tied directly to technician productivity and asset loss.
- Tool search time: How long does a technician spend locating a tool? This is the primary target.
- Tool utilization rate: What percentage of your inventory is actively in use vs. sitting idle?
- Shrinkage/loss rate: How many items are written off per quarter?
- Overdue rate: What percentage of check-outs are returned late?
- Stock turns: How often does consumable inventory cycle through in a period?
- MTTR impact: Does faster tool availability reduce mean time to repair on maintenance work orders?
Stat: Scan-based crib systems can reduce time spent on tool allocation by up to 30% compared to manual paper workflows.
A simple ROI example: if multiple technicians save time per shift finding and signing out tools, that can result in recovered labor hours per day and meaningful cost savings before accounting for reduced tool loss and fewer emergency purchases. The search-time reduction alone can cover the cost of a team-tier software subscription relatively quickly.
The biggest hidden ROI, though, is often not search time. It is stopping tool hoarding. When every technician can see in real time which tools are available and where they are, the incentive to stash a personal supply disappears. Shared tools circulate instead of sitting in someone's locker, which reduces duplicate purchases and keeps utilization rates honest.
How does Availzye Machinist Pro handle tool crib management?
Availzye Machinist Pro's Tool Crib feature maps directly to the must-have feature list covered earlier in this guide.
Feature-to-requirement mapping
| Crib Requirement | Availzye Machinist Pro Capability |
|---|---|
| Check-in / check-out | Built-in with user assignment and job tracking |
| Audit log | Full transaction history per item |
| Low-stock alerts | Configurable reorder thresholds with notifications |
| Tool life logging | Tracks usage cycles and service intervals |
| Role-based access | Individual, attendant, and manager permission levels |
| CSV import | Bulk inventory import for fast setup |
| Calibration tracking | Service interval logging with hold status |
| Multi-user collaboration | Team tier supports shared access across the shop |
The platform also includes a Job Tracker, Maintenance Log, and an AI machining assistant alongside the crib module, so shop managers are not paying for a standalone inventory app when they need engineering calculators and work order tracking too.
Pricing tiers
| Tier | Price | Seats | Best For |
|---|---|---|---|
| Individual | under $10/month | 1 | Solo machinist or small owner-operator |
| Small Shop | — | Up to team | Small shops with a dedicated attendant |
| Team | $50/month | Full team | Multi-user shops needing collaboration |
All tiers include a 7-day free trial with no credit card required to start.
Running a 30-day pilot with Availzye Machinist Pro
- Days 1–3: Sign up, configure your location hierarchy, and import your pilot tool set via CSV using the tool database as your item reference.
- Days 4–7: Print QR labels, apply them to your pilot tools, and run the first live check-out/check-in transactions with your attendant.
- Days 8–21: Track compliance daily. Log any overdue items, damage flags, and restock triggers. Note search time before and after.
- Days 22–30: Review audit logs, calculate time saved, and compare shrinkage against the pre-pilot baseline. Use that data to build the business case for full rollout.
Success metrics for the pilot: check-out compliance above 90%, zero unresolved overdue items at day 30, and at least one restock alert caught before a stockout.
Key Takeaways
Effective tool crib management requires a scan-based digital register, role-based access, and a phased rollout starting with your highest-turnover tools before expanding to the full inventory.
| Point | Details |
|---|---|
| Start with a scan-based workflow | Replace paper sign-out sheets with QR or barcode scans to get a real-time audit trail from day one. |
| Label critical tools first | Apply tags to your top 20% of high-turnover items before importing the full inventory. |
| Enable audit logs and role-based access immediately | These controls prevent disputes and support compliance from the first transaction. |
| Track search time as your primary KPI | Scan-based systems can reduce tool allocation time by up to 30% versus manual workflows. |
| Availzye Machinist Pro covers the full feature set | Check-in/out, low-stock alerts, tool life logging, CSV import, and role-based access are all built in, starting at under $10/month with a 7-day free trial. |
The part most rollout guides get wrong
The conventional advice on tool crib management focuses almost entirely on the physical setup: shadow boards, foam inserts, color-coded bins. That stuff matters, but it is not where most shops lose. They lose in the gap between the physical crib and the digital record.
The real failure mode is not a messy shelf. It is a spreadsheet that nobody updates in real time, or a paper log that gets transcribed once a week, or a system where only the attendant knows the password. Those setups create the illusion of control while the actual inventory drifts further from the record every day.
The shops that get this right do one thing differently: they make the digital transaction as fast as the physical one. If scanning a tool out takes longer than just grabbing it and walking away, technicians will grab and walk. The system has to be faster than the workaround, not just more accurate.
That is why phone-based QR scanning matters more than RFID for most shops. RFID is faster in theory, but it requires hardware, configuration, and maintenance. A QR code on a label and a phone in a technician's pocket is a system that works on day one without an IT project. Get compliance first. Optimize later.
The other thing most guides underestimate is the cultural shift. A tool crib system is also a visibility system, and some technicians will resist it precisely because it makes their tool habits visible. The answer is not enforcement alone. It is making the system genuinely useful to the people using it: real-time availability so they know before they walk to the crib whether the tool is there, and fast check-out so the transaction feels like a feature, not a tax.
Try Availzye Machinist Pro for your tool crib
Every shop that has moved from paper logs to a cloud-based crib system hits the same realization: the hard part was never the software. It was deciding to stop tolerating the old way.
Availzye Machinist Pro gives you a complete tool crib module without the enterprise price tag or the six-month implementation project. You get check-in/check-out, low-stock alerts, tool life logging, audit trails, and role-based access in the same platform your machinists already use for feeds and speeds calculations. One login, one subscription, one place where your shop data lives.

The 7-day free trial is the right starting point. Import your pilot tool set via CSV, print your labels, and run your first live transactions before you commit to anything. Most shops have their pilot area live within a day. Start your trial at the Tool Crib landing page and see what a managed crib actually looks like in practice.
Useful sources and further reading
- Availzye Machinist Pro — Tool Crib feature: The product landing page for the built-in Tool Crib module, including feature details, pricing, and trial signup.
- Availzye Machinist Pro — Tool Database: Details on storing tool specifications and part numbers, useful for structuring your CSV import.
- Inventory Cycle Counting: A Practical Guide for Warehouse Teams: Practical cycle-counting methods that translate directly to crib audit procedures and counting cadence.
- TDM Systems — Tool Crib Module: Industry perspective on scan-based crib modules, lifecycle controls, and the 30% search-time reduction benchmark.
- MapTrack — Tool Tracking Software: Overview of calibration tracking, condition logging, and small-shop migration timelines.
- CertiCerts — Cloud Solutions and Multi-Site Access: External perspective on cloud-based management platforms and remote access patterns relevant to multi-site crib deployments.