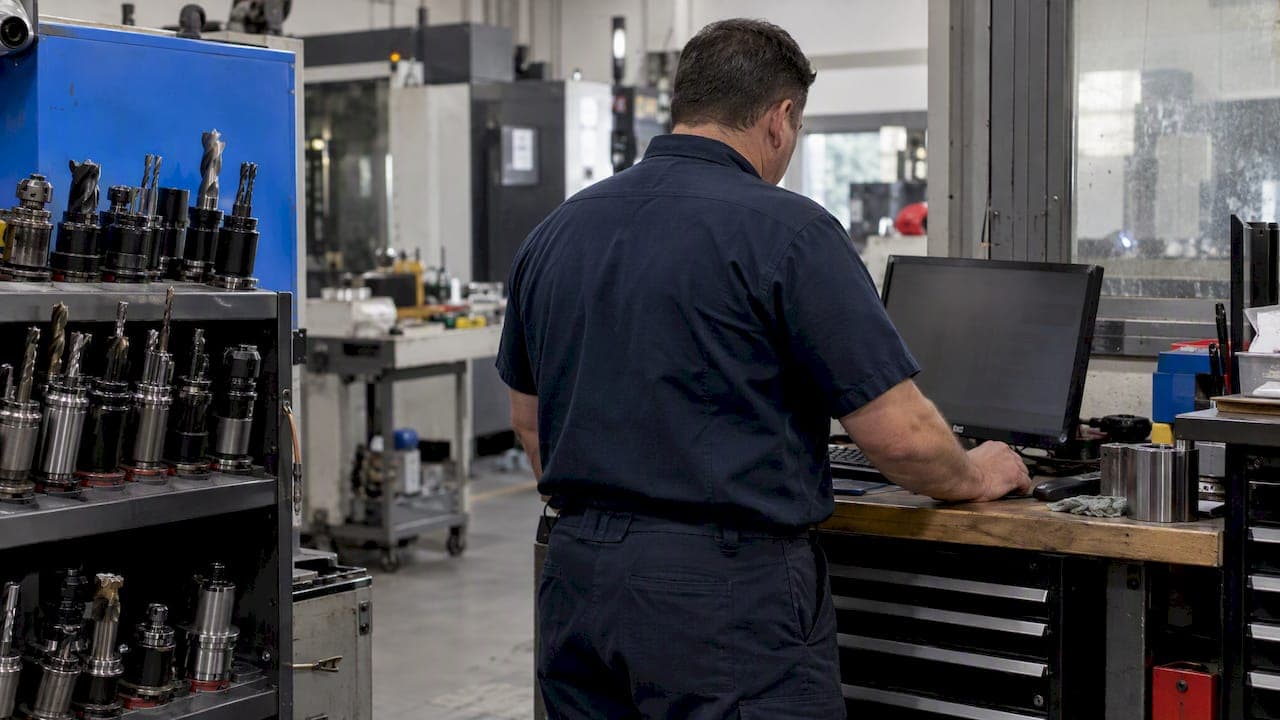
Use two layers: a short machine-facing T number for the controller, and a separate, permanent shop inventory ID that owns offsets and life data in the tool crib. That split keeps G-code stable, stops offset mix-ups at setup, and lets you reorganize pockets without touching a program. Standards like ISO 13399 and CSV tool-table imports make it practical, and we built Availzye to manage that database.
TL;DR:
- Keep offsets and tool life under the permanent inventory ID, then export the changing T number and pocket mapping whenever a machine is loaded.
- Check controller index and pocket limits, match units between the table and program, and verify whether H offsets must match T numbers.
- Reserve number blocks by tool family, with separate ranges for end mills, drills, taps, and spares; keep holder and insert details in separate fields.
- Pilot one cell, test with an air cut and sacrificial part, then expand only after verifying offsets and pocket mappings against the database.
- During migration, map legacy numbers to new IDs; audit labels and pocket mappings monthly, then complete a full reconciliation quarterly or after major changes.
Table of Contents
- Which tool numbering patterns do shops already use?
- What separates a machine tool number from an inventory ID?
- What do controller tool tables limit about your numbering?
- What does a ready-to-use numbering schema look like?
- How do you roll out the numbering system on the shop floor?
- How do you migrate an old system and keep it accurate?
- Why we recommend separating T-numbers from shop IDs
- FAQ
- Sources
Which tool numbering patterns do shops already use?
Most shops land on a block-range scheme because it is easy to read at a glance and easy to extend. Pick the one that matches how many tools you actually run.
- Short sequential by type (1–10 end mills, 11–20 drills): Great for a single mill with a small carousel. The downside is that you run out of room fast, and a new tool type means renumbering.
- Spaced ranges, with gaps between assigned numbers: Gaps leave room to add a tool next to its siblings without renumbering. The cost is a few unused numbers.
- Hundreds blocks by tool family (100s end mills, 200s drills, 300s taps): Scales to a full tool library and makes the family obvious from the number alone. It needs a written key so everyone agrees what each block means.
- Type prefix plus size code plus sequence: The most descriptive option, and the one we expand into a template below. It takes more discipline to maintain and longer numbers to label.
Spacing in tens or hundreds pays off because tools get added, never removed. When a new 3/8 inch end mill shows up, you slot it into the 100s block instead of inventing an exception. Visual grouping also helps at the crib: someone pulling a 2xx tool already knows they are in the drill drawer.
For digits, a small shop running a single machine can use a short numbering scheme and a handful of blocks. A larger shop with several machines and a shared crib should plan on longer numbers or a prefix, and reserve ranges early for holders, spares, and regrinds. Reserving is cheap on day one and painful to retrofit.
Numbering conventions outside machining follow the same logic. Facility equipment standards, such as the equipment numbering practice at Lawrence Livermore National Laboratory, build IDs from a facility code, an equipment-type code, and an item sequence. Those structured strings are what keep inventory and maintenance systems reliable, and the same idea applies to a tool library.
What separates a machine tool number from an inventory ID?
The machine tool number is the T-word the controller reads: the index your G-code calls, usually tied to a pocket in the changer. The shop inventory ID is the permanent identity of a physical tool or assembly in your crib. The first one is about the machine. The second is about the tool.
Keep them separate because the T number changes when you rearrange a carousel, move a job to another machine, or run a random tool changer. The LinuxCNC documentation on tool compensation draws exactly this line: the T number is an index the program uses, and changing T or pocket assignments without strict control causes setup errors. If your offsets and life counters hang off the T number, every rearrangement quietly corrupts your data.
Three mapping approaches cover most shops:
- Fixed-pocket mapping: Each inventory ID always lives in the same pocket and T number on a given machine. Simple and fast, ideal for dedicated cells, but it wastes pockets when a job only needs a few tools.
- Dynamic mapping: The T number is assigned per job from a setup sheet or export, and the inventory ID travels with the tool. Flexible, but it demands a reliable export step.
- Adapter-chip approach: A chip or label on the holder carries the identity. A shop-level tracking design described in a NIST analysis of an Army tool management system tracks tool assemblies by a chip-based identification code and flags an unidentified assembly when it is wanted.
The best practice across all three: store offsets and life data under the inventory ID, then export or import the T-to-pocket mapping when you load the machine.
Pro Tip: Before you change any pocket assignment, export the current tool table and confirm each offset is saved under its inventory ID, so a pocket swap can never overwrite a good offset with a stale one.
What do controller tool tables limit about your numbering?
Your scheme has to survive the controller, so know what the tool table actually holds. In the NIST RS274NGC interpreter, each tool line carries a pocket number, a user-defined tool code, a tool length offset, a diameter, and an optional comment. It also notes that pocket numbers must be unique and that units must match the NC program's units. A metric table feeding an inch program is a classic way to crash a good tool.

LinuxCNC's tool table follows the same pattern: a line holds T for the tool number, P for the pocket, offsets, D for diameter, and an optional comment. Tool numbers must be unique, pocket numbers typically start at 1 and run up to the highest pocket, and with a random tool changer the system may rewrite pocket values as tools move. Your numbering should assume that behavior, not fight it.
Practical limits to check on your own machine before you commit to a scheme:
- Pocket count: Your T numbers can only be as meaningful as the carousel is large. A changer with a longer T number may be fine if the controller accepts it, but test it.
- Maximum tool number index: Controllers cap how high a T or offset index can go. Do not assume your longer inventory ID can double as the T number.
- Comment parsing: Some controllers ignore comments, others choke on certain characters or lengths. Keep comments short and plain.
- H and T consistency: On many mills the H length offset index should match the T number. Keeping that mapping consistent is what prevents the wrong length offset from loading on an M6 tool change.
For interoperability, prefer CSV or plain-text tool-table exports. They move between a tool database, a presetter, and a controller without a proprietary format in the middle. Where you need a shared vocabulary for tool data, ISO/TS 13399 defines classes and properties for cutting tool items, supporting consistent representation of tool data.
What does a ready-to-use numbering schema look like?
Build the schema around these principles: unique IDs, room to grow, human readability, machine compatibility, and links back to the record that holds offsets and life. Master equipment guidance from Los Alamos engineering standards recommends alphanumeric sequence numbering for uniqueness, hyphens for designators, and fixed rules for suffixes and labels. Those rules transfer directly to tool IDs.
Here is a schema you can adopt: a type prefix, a size or feature code, and a sequence. Reserve ranges up front:
- 100–199: End mills
- 200–299: Drills
- 300–399: Taps and thread mills
- 400–499: Face mills and shell mills
- 500–599: Reamers, boring heads, and finishing tools
- 600–699: Inserts and insert-style cutters
- 900–999: Reserved for spares, regrinds, and experiments
Never change the core ID to describe a holder, adapter, or insert. Record those as separate fields, so a tool can move from one holder to another without getting a new identity. If a tool is reground to a smaller diameter, that is a new record linked to the old one, not an overwrite.
A minimal CSV needs fields such as ToolID, Type, Subtype, Diameter, LengthOffset, Pocket, HolderID, and Notes. A filled sample looks like this:
Keep units identical across the file and the program, as the NIST interpreter requires. Once this table lives in a database, import and export become a button instead of a retyping session. Our Tool Database supports tool records and tool-life logging.
How do you roll out the numbering system on the shop floor?
Roll it out in one cell first, not the whole building. A pilot exposes the labeling problems and controller quirks while the blast radius is small.
- Pick one machine or cell and freeze its current tool list as a baseline.
- Assign inventory IDs from your reserved ranges and print durable labels for each tool and holder.
- Preset every tool and record length and diameter offsets once, under the inventory ID.
- Build the controller tool table from the database export, confirming units, pocket numbers, and H-to-T mapping.
- Run an instrumented test job: air cut first, then a sacrificial part, checking each tool change against its expected offset.
- Verify pocket mapping and offsets against the database, fix discrepancies, then expand to the next cell.
Presetter discipline is where this succeeds or fails. Capture offsets one time and attach them to the inventory ID, never to the T number. The NIST tool management work describes presetting that stores exact tool dimensions and offsets in a database keyed to the tool identification number, which is the same idea in a shop-sized form.
In the crib, run check-in and check-out against the inventory ID, set low-stock alerts per tool family, and link tool-life counters to the same ID so wear data follows the tool across machines. Our Tool Crib page covers how we handle check-in, restock, and alerts, and our tool crib management guide walks through layout and controls.
Pro Tip: Label the holder and the tool separately, and scan both at the presetter. If the two IDs ever disagree, you want to catch it before the tool reaches the spindle.
How do you migrate an old system and keep it accurate?
Migrate in phases, not overnight. Snapshot your current tool list and offsets, then assign new inventory IDs one tool family at a time. Keep a legacy crosswalk file that maps every old number to its new ID for a defined transition period, so older programs and setup sheets still resolve while you update them.
Keep it accurate with a recurring audit:
- Label reconciliation: Scan every label or barcode in the crib and compare against the database. Missing or duplicate IDs surface immediately.
- Offset verification: Spot-check stored offsets against a fresh presetter reading, especially for tools with heavy use.
- Pocket mapping checks: Compare each machine's loaded tool table to the database mapping.
- Frequency: Run a quick scan monthly and a full reconciliation quarterly, or after any major tool-library change.
Treat IDs as controlled records. When an offset changes, append version metadata (date, who, why) rather than overwriting it, and require sign-off before an inventory ID is ever reassigned to a different tool. A reused ID is the fastest way to turn a clean database into a guessing game.
Why we recommend separating T-numbers from shop IDs
We recommend the two-layer approach because it fixes the right problem in the right place. The controller needs a short, stable index. The shop needs a permanent identity that carries offsets, life, and history. When those two are the same number, every pocket change risks your data, and every analytics question about tool life becomes unanswerable.
Keeping them apart pays off in uptime, because setups stop failing on mismatched offsets. It pays off in traceability, because you can follow a tool across machines and jobs. And it pays off in analytics, because tool-life and job-costing numbers all key off one reliable ID. That is why we designed Availzye as a place to manage tool databases.
Start small. Pilot one cell, run one instrumented test job, and verify the offsets before you scale. You will know within a shift whether the split works for your shop.
— Availzye
FAQ
What is the difference between a T number and a tool ID?
A T number is the index your G-code calls so the controller picks a tool, usually tied to a pocket. A tool ID is the permanent shop identity for a physical tool or assembly, which owns its offsets and life data.
How many digits should a tool numbering system use?
A small shop on one machine can run on two or three digits. Larger shops with shared cribs should plan for four digits or a type prefix, and reserve ranges for holders and spares from the start.
Should offsets be stored under the T number or the inventory ID?
Store them under the inventory ID. The T number changes when pockets or machines change, while the inventory ID stays with the tool, so offsets never get attached to the wrong tool.
Do I need ISO 13399 to number my tools?
No, but it helps when tool data moves between systems. ISO 13399-1 provides an information model for representing cutting tool data, which keeps properties consistent across software and suppliers.
Sources
- System requirements analysis for the U.S. Army Rock Island Arsenal tool management system
- The NIST RS274NGC Interpreter - Version 3
- Linuxcnc
- ISO/TS 13399-3:2021 - Cutting tool data representation and exchange — Part 3: Reference dictionary for tool items