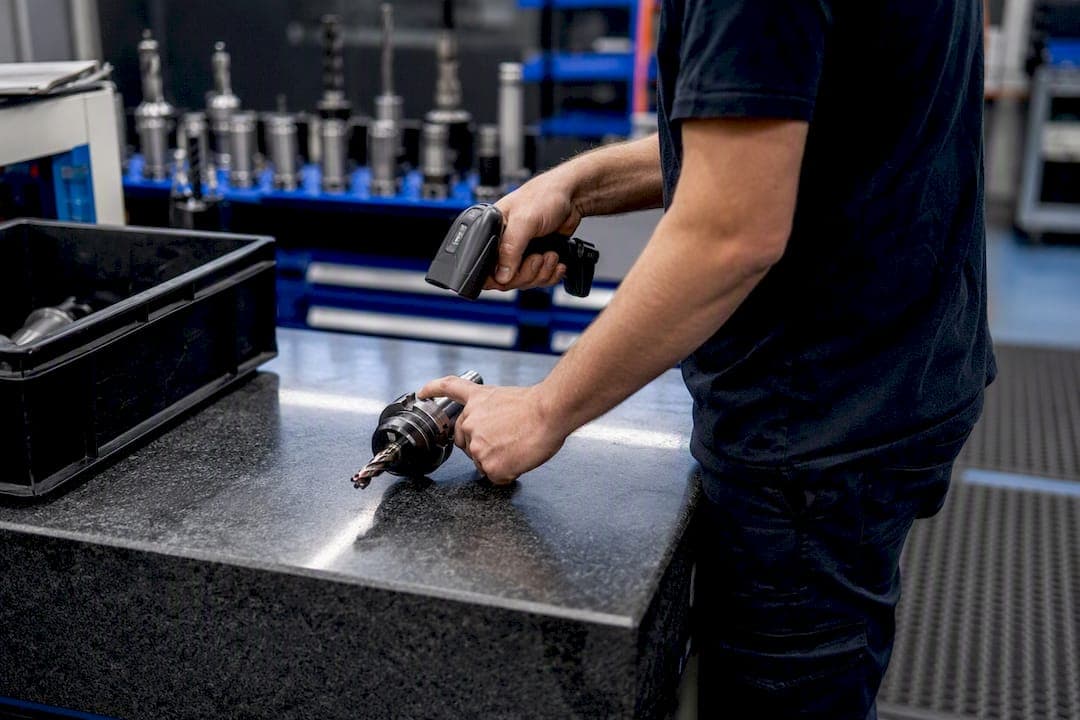
A working tool checkout process boils down to three linked records: the item, the person, and the transaction that connects them at a point in time. Get that structure right and everything else, accountability, availability, loss prevention, falls into place around it.
The immediate payoff is a custody trail you can actually audit. When a tool goes missing, you know who had it last and when it was due back, instead of guessing or blaming the last person who walked past the crib. Build your system around three tables:
- Items: what you own and where it lives when it's not checked out
- People: who is authorized to take tools, and from where
- Transactions: the checkout and check-in events that connect the two, timestamped
Key Takeaways
A tool checkout process works when status is derived from timestamped transactions rather than manual updates, and when condition checks at return keep damaged tools out of circulation.
| Point | Details |
|---|---|
| Use the three-table model | Track items, people, and transactions separately, and derive status from open transactions. |
| Set category-based due dates | Different tool categories need different default return windows, from end of shift to project close. |
| Automate the overdue sweep | A daily overdue report plus supervisor escalation after a fixed threshold keeps returns on schedule. |
| Inspect at return, not just checkout | Condition checks with photos catch damage early and can auto-generate maintenance work orders. |
| Availzye Machinist Pro maps to this model | Its Tool Crib and Job Tracker features link checkout transactions to work orders with role-based access. |
Table of Contents
- Why a Tool Checkout System Matters for Cost Control
- What Fields Belong in a Tool Sign Out Log?
- How Does a Tool Check-In Checkout Procedure Work Day to Day?
- Should You Use Paper, Barcodes, or a Kiosk?
- Setting Due Dates, Reminders, and Escalation Rules
- How Do You Roll Out a New Checkout System?
- How Availzye Machinist Pro Supports This Checkout Model
- What Most Shops Get Wrong About Tool Checkout
- Get the Checkout System Built Into Your Shop Software
- Frequently Asked Questions
- Sources
Why a Tool Checkout System Matters for Cost Control
An untracked tool crib bleeds money quietly. Tools go home in a truck bed, get buried in a job box, or walk off with a subcontractor, and nobody notices until a project needs that exact impact driver or dial indicator and it's gone.
A structured tool accountability system fixes three things at once:
- Custody trail: every item has a name attached to it the moment it leaves the shelf
- Lower replacement spend: fewer tools vanish, so fewer emergency purchases at retail prices
- Faster audits: reconciling a digital log takes minutes instead of a physical walk of every shelf
Shops that shift from a clipboard to a scanned register cut the time spent hunting for tools and reconciling counts, since digital checkouts create a timestamped custody trail that a paper sheet simply can't produce. That single change also improves scheduling, because crew leads can see what's available before they walk to the crib instead of after.
What Fields Belong in a Tool Sign Out Log?
The register is only as good as the fields behind it. Skip a field here and the whole system degrades into guesswork within weeks, the same failure mode that kills spreadsheet-based tracking once volume grows.
A minimal but complete model needs three tables, and the field list below matches the structure recommended for tool crib systems:
| Table | Required Fields | Why It Matters |
|---|---|---|
| Item | Unique ID, serial number, photo, home location, category | Identifies the exact tool and where it should be when idle |
| Person | Badge/ID number, name, company or subcontractor, role | Ties every checkout to an accountable individual, not a crew |
| Transaction | Item ID, person ID, checkout time, due-back time, return time, condition notes | Drives the derived status rule below |
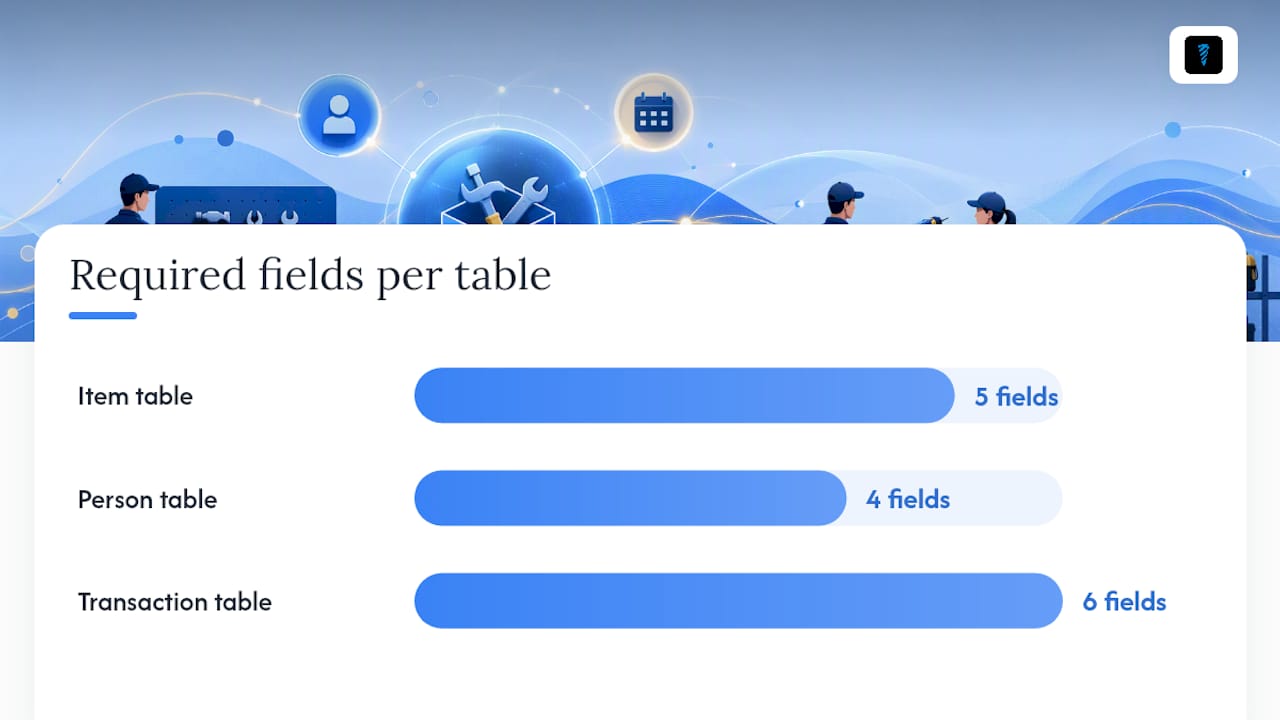
The transaction table does the real work. An item's status should never be a field you manually flip to "checked out." Instead, derive it: if there's an open transaction with no return timestamp, the item is out. That single rule keeps the whole tool checkout system honest, because nobody can "forget" to update a status field that doesn't exist as a manual entry in the first place.
Skip the photo field and you'll regret it the first time someone disputes what condition a tool was in when they took it.
How Does a Tool Check-In Checkout Procedure Work Day to Day?
The procedure needs to be fast enough that people actually follow it. A checkout that takes ninety seconds gets skipped under deadline pressure; one that takes ten seconds doesn't.
Counter checkout flow:
- Scan the item's tag or look up its ID in the register.
- Confirm the requester's identity against their badge or ID.
- Set the due-back time based on category defaults (more on this below).
- Note existing condition, and photograph anything with visible wear or damage.
- Finalize the transaction, which timestamps the checkout and flips the item's derived status to "out."
Self-checkout or kiosk flow works the same way but removes the attendant: the person scans the item, the system pulls up their profile from a badge scan, and they self-acknowledge the checkout terms on screen before the transaction closes. This only works when identity verification is automated, otherwise you've traded a reliable counter process for an honor system.
Return flow reverses the sequence: scan the item back in, log condition at return, and route anything damaged straight to a maintenance queue rather than back onto the shelf.
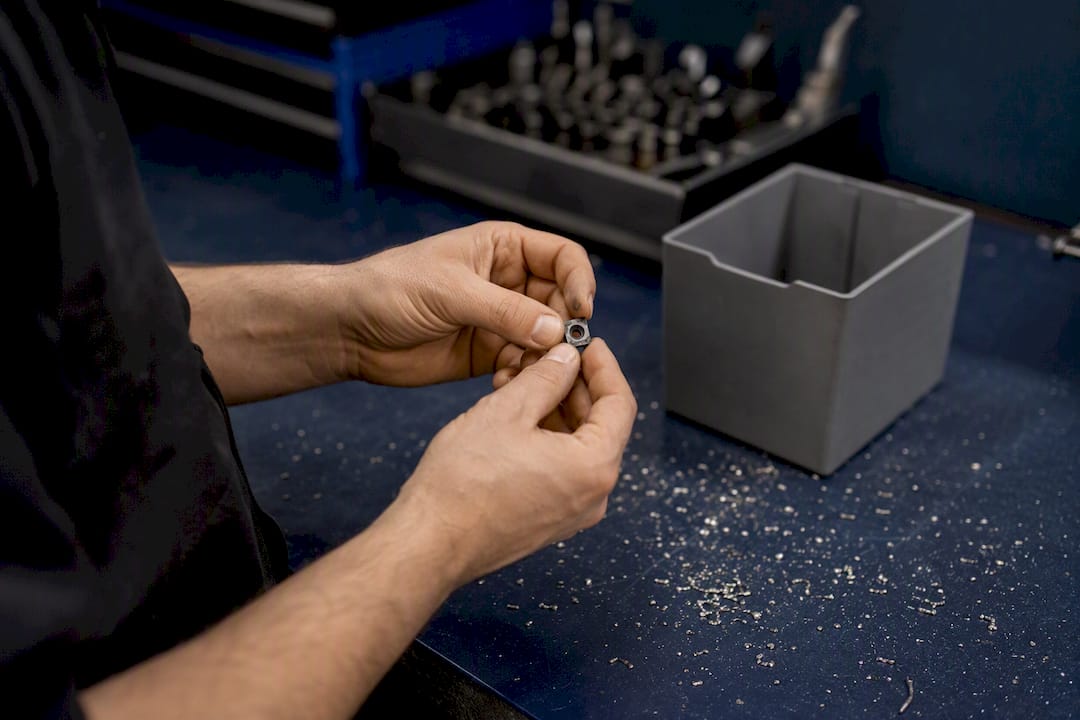
Pro Tip: Pre-fill fields and set your scanner to auto-advance the cursor between inputs. Vendor documentation on operator workflows shows that a well-configured counter flow keeps checkouts under 15 seconds, and speed is what keeps compliance high when a crew is in a hurry.
Should You Use Paper, Barcodes, or a Kiosk?
The right technology depends on scale, not preference. A two-person shop with forty hand tools doesn't need the same system as a multi-site contractor tracking three thousand assets across crews.
- Paper or spreadsheet sign-out sheets work fine for small operations with one attendant and low tool counts, but they lack automatic timestamps and overdue alerts, and data tends to diverge from reality within weeks once volume grows.
- Barcode or QR scanning is the practical threshold once you have more than one attendant or more than a couple hundred items. Labels need to survive shop conditions: laminate or use metal tags for anything exposed to coolant, grease, or repeated handling.
- Kiosk mode works well for high-traffic cribs where attendants would otherwise become a bottleneck during shift changes.
- Offline-capable mobile apps matter for field crews and remote job sites without reliable connectivity, syncing transactions once a signal returns.
- Bulk-scan audits let you reconcile an entire crib in minutes by scanning every item on a shelf and flagging mismatches against the open transaction list.
Setting Due Dates, Reminders, and Escalation Rules
Every category of tool needs a default due-back rule, or your overdue list becomes meaningless noise nobody acts on.
- Category-based defaults: hand tools due back end of shift, specialty equipment due end of week, job-specific gear due at project close
- Automated reminders: a notification before the due time, not just after it
- Daily overdue sweep: a standing report the crib attendant checks every morning, not something they have to remember to run
- Supervisor escalation: automatic notice after a fixed threshold past due, so accountability doesn't stall at the crew level
Condition checks at return matter just as much as due dates. When a returned tool fails inspection, that failure should automatically generate a work order rather than sit in a "deal with it later" pile, which is exactly how damaged tools end up back in circulation.
Pro Tip: Set your overdue threshold shorter than feels comfortable at first. Teams that start with a five-day grace period almost always tighten it to two or three once they see how much faster tools come back.
How Do You Roll Out a New Checkout System?
Rolling out a tool checkout system in one shot, across every tool and every crew, is how these projects stall. A phased approach gets you a working system in days instead of months.
- Import your inventory and label your highest-value or most frequently borrowed items first. Don't wait for every wrench to have a barcode before you go live.
- Pilot at one counter or one crew. Run it for two to three weeks and track what actually causes friction, whether that's scanner range, badge readability, or attendants skipping condition notes under pressure.
- Fix what broke in the pilot, then expand to the next crew or site with those fixes already in place.
- Train with talking points, not manuals. Show people the ten-second flow in person; a written policy nobody reads won't change behavior.
- Post signage at the crib window and kiosk stating the checkout procedure for tools in plain language.
- Track three metrics from day one: loss rate, average overdue count, and audit time. These three numbers tell you whether the rollout is actually working.
How Availzye Machinist Pro Supports This Checkout Model
The three-table model described above maps directly onto how Availzye Machinist Pro's Tool Crib feature is built. Items get logged with serial numbers, photos, and home locations; check-in/check-out transactions are timestamped automatically rather than hand-edited; and low-stock alerts flag consumables before a shift gets stalled waiting on inserts.
Checkout transactions can link directly to a work order through the Job Tracker, so a supervisor can see which job a tool is currently tied to without walking the floor. Condition notes captured at return feed the same audit trail role-based access controls protect, so only authorized users can write off or restock an item.
Practical touches that reduce friction on the shop floor:
- QR scanning at checkout instead of manual lookup
- Automatic low-stock alerts tied to reorder thresholds
- Condition forms attached to each return transaction
- Audit logs that reconstruct any item's custody history on demand
What Most Shops Get Wrong About Tool Checkout
Most advice on this topic treats tool checkout as a discipline problem: get people to write things down, remind them more, punish the ones who don't. That framing is backward. The shops that actually fix loss rates treat it as a design problem, not a compliance problem.
The conventional wisdom oversells signage and policy memos. A laminated sign at the crib window has never stopped a busy machinist from grabbing a dial indicator without logging it. What stops that is friction removal: a scan that takes three seconds beats a sign-out sheet every time, because the fast path becomes the compliant path by default.
The other place conventional advice falls short is condition checks. Most sign-out systems treat the checkout moment as the only one that matters. But the return is where damage actually gets caught, and a system that doesn't force a condition note at return will keep reissuing tools that should have gone to maintenance weeks earlier.
If you're building this from scratch, prioritize the transaction table before anything else. Get the derived-status rule right, and the rest of the system, reminders, escalation, audits, has something solid to sit on.
Get the Checkout System Built Into Your Shop Software
Running a tool checkout process on a spreadsheet works until it doesn't, usually right around the time a second attendant joins the crib or your tool count crosses a few hundred items. At that point you're maintaining two systems: the spreadsheet and the mental notes everyone keeps to cover its gaps.
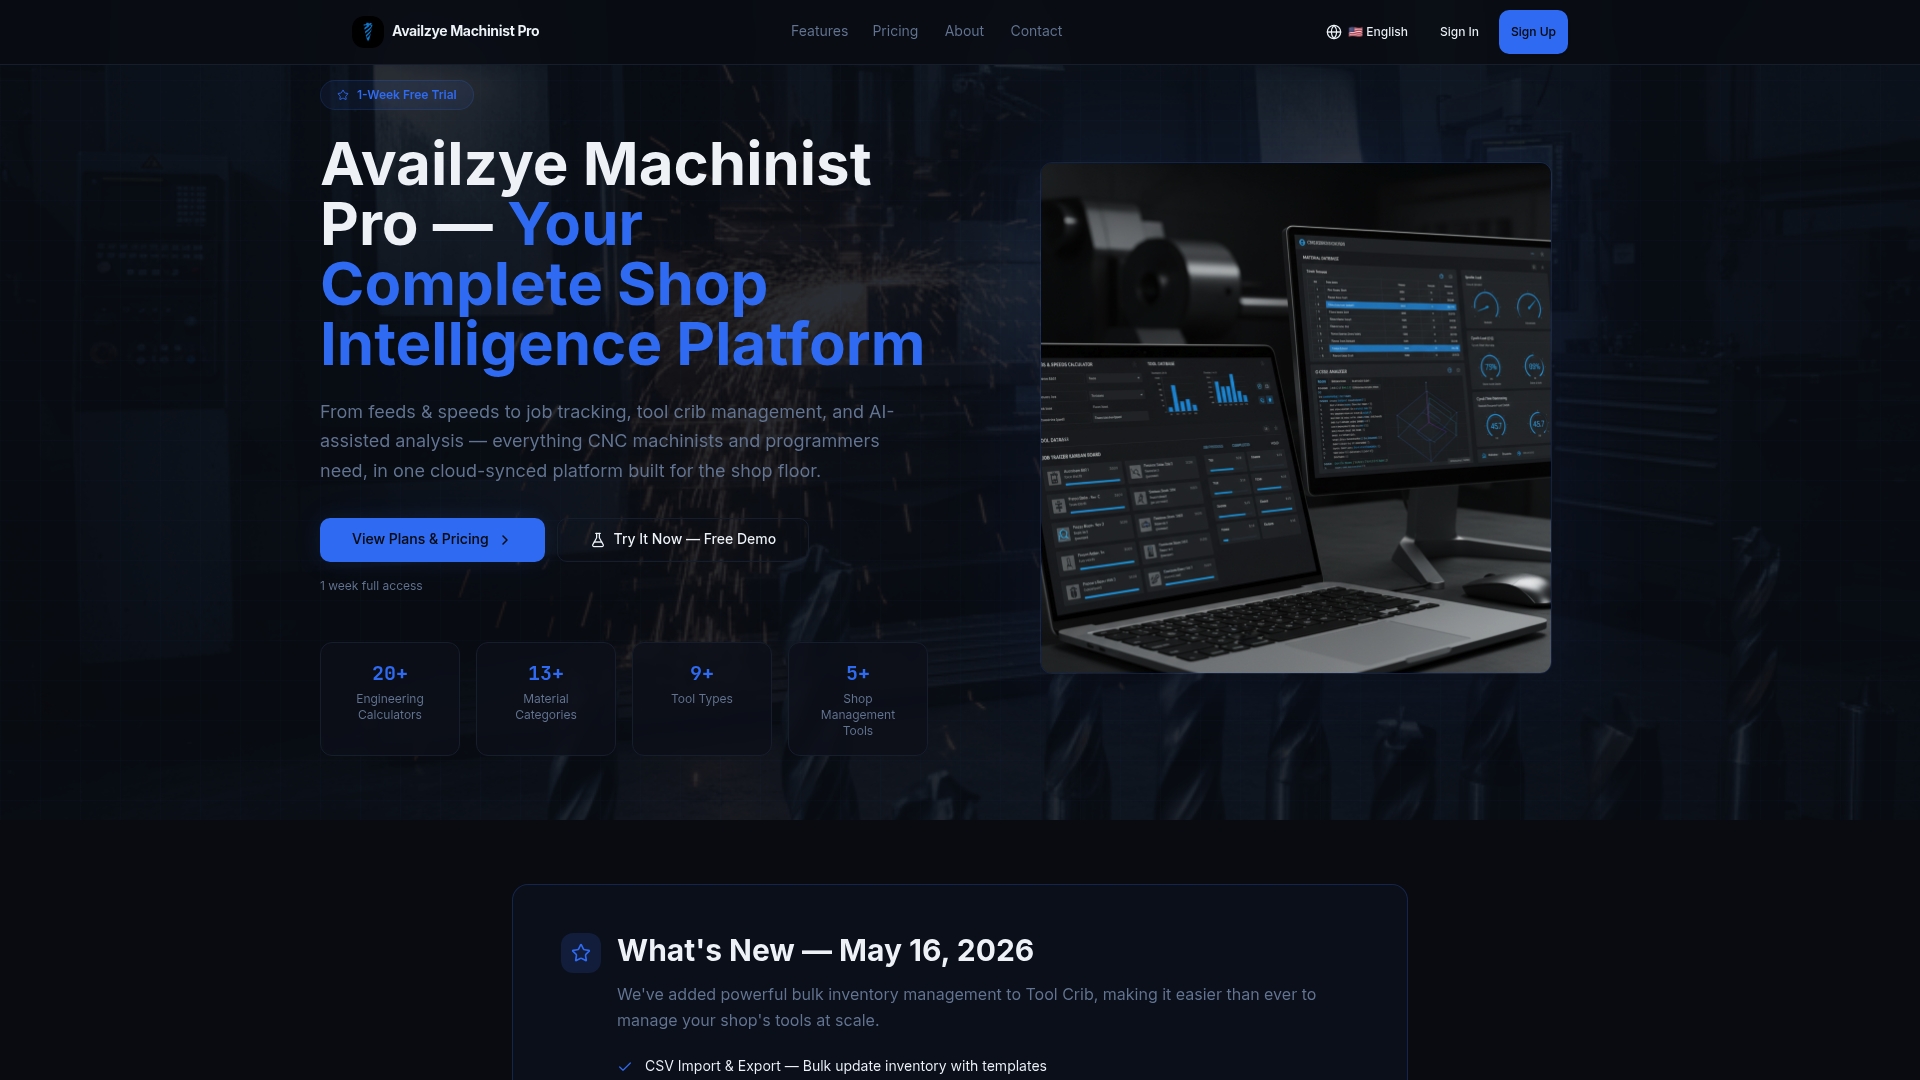
Availzye Machinist Pro folds the checkout model into the same platform your team already uses for feeds and speeds calculations, job tracking, and maintenance logs, so tool custody data lives next to the work orders it actually affects. The Tool Crib feature handles check-in/check-out, low-stock alerts, and tool life logging with role-based access, so a shop manager sees the full custody trail without chasing down a separate log. It's built for machinists and shop owners who need real calculation tools and real inventory control in one place, not a bolted-together patchwork of apps.
Start the seven-day free trial and set up your first tool crib records this week, or check the Tool Database page to see how item metadata and photos get structured before you import your inventory.
Frequently Asked Questions
What is a tool checkout process? A tool checkout process is the set of steps and records a shop uses to track who has which tool, when they took it, and when it's due back. At minimum it requires three linked records: the item, the person, and the transaction connecting them.
What's the difference between a tool sign out sheet and a digital tool checkout system? A sign-out sheet is a manual paper or spreadsheet log that depends on people remembering to write entries. A digital tool checkout system timestamps every transaction automatically and can trigger overdue alerts, which is why digital registers cut audit time compared with paper logs.
How do you handle a lost or damaged tool in the checkout system? Log the condition at return with a photo, route damaged items to a maintenance queue instead of back onto the shelf, and mark lost items as written off in the item record so the derived status and replacement cost tracking stay accurate.
What due-back rule should I use for tool checkout? Set defaults by category rather than one blanket rule: hand tools due end of shift, specialty equipment due end of week, and job-specific gear due at project completion, with automated reminders ahead of each deadline.
Do small shops need barcode scanning, or is a spreadsheet enough? A spreadsheet can work for a single attendant with a small tool count, but once you add attendants or cross a few hundred items, manual logs start diverging from actual inventory within weeks, which is when barcode or QR scanning becomes worth the setup time.
Sources
- Tool Crib Checkout System: Fields and Data Model
- Tool Checkout System for Field Teams | Smarter Tracks
- Equipment Checkout Software | MapTrack