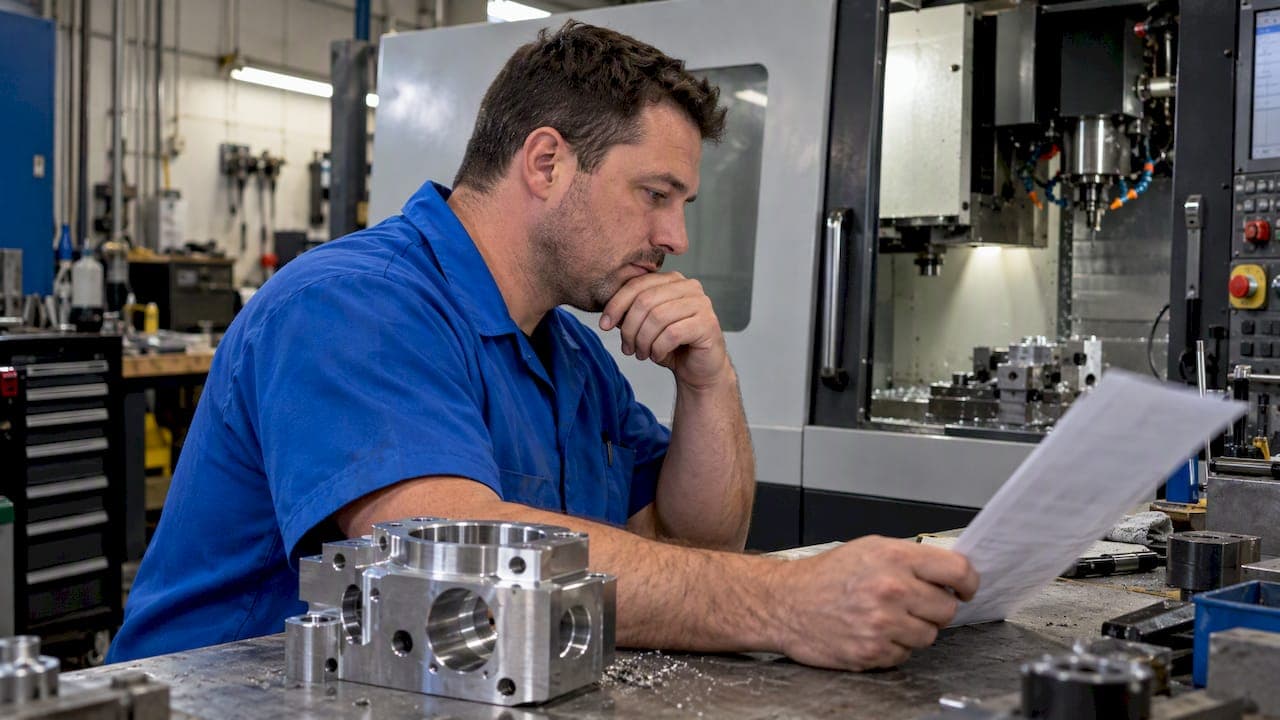
A machined part's cost breaks into six pieces: setup, cycle time, material, tooling, overhead and finishing or inspection, with margin on top. Most quoting mistakes come from mixing these up, usually by burying setup inside cycle time or by spreading overhead over hours the shop never sells. This guide walks through each piece, shows a worked quote at three quantities, and covers what to track so your next estimate beats the last one.
TL;DR
- Part cost = setup (fixed per batch) + cycle time (scales with quantity) + material + tooling + finishing and inspection, all loaded with overhead and then margin.
- Setup is a per-batch cost. Spread it over the real order quantity or you subsidize the customer on small runs.
- Your shop rate should come from a year of actual operating costs divided by hours you realistically bill, not hours the doors are open.
- Faster cutting shortens cycle time but wears tools sooner. The cheapest part sits at the bottom of the total cost curve, not at the slowest speed.
- Compare finished jobs to the estimate every time. That feedback loop is what makes quotes accurate.
Table of Contents
- The six cost elements of a machined part
- Setup: the cost that disappears at volume
- Cycle time: where the machine earns or loses money
- Material: more than the price per pound
- Tooling: charge wear, not purchase price
- Overhead and the shop rate
- Finishing, inspection and outside processes
- A worked example at 5, 50 and 500 pieces
- How accurate does an estimate need to be?
- Where the market's hourly rates fit
- Common mistakes that quietly erode margin
- Close the loop: compare estimate to actual
- Our perspective: put the numbers where the work happens
- Build the breakdown inside your shop software
- FAQ
- Sources
The six cost elements of a machined part
The Precision Machined Products Association describes machining economics as four factors: machining cost, material cost, tool cost, and the cost of non-productive time such as setup. In a real quote it helps to split these further, because each behaves differently when quantity, material or tolerance changes.
| Element | Behaves like | What drives it |
|---|---|---|
| Setup and programming | Fixed per batch | Fixturing, first-article work, program proving, tool loading |
| Cycle time | Per part | Material removal, feeds and speeds, tool changes, number of operations |
| Material | Per part | Stock size, grade, scrap, kerf and drop-off |
| Tooling | Per part (wear-based) | Tool price, tool life, speeds, material machinability |
| Overhead | Folded into the shop rate | Machine ownership, facility, utilities, software, insurance |
| Finishing and inspection | Per part, plus a fixed first-article chunk | Deburring, plating or anodizing, tolerances, reporting |
The fixed-versus-variable split matters most. A Precision Machined Products Association estimating guide lists burden items such as insurance, power, facility operations, building maintenance and office costs, and lays out setup costs per part by quantity. The same guide warns that failing to separate setup from cycle time leads to chronic underquoting on low-volume jobs.
Setup: the cost that disappears at volume
Setup covers everything between "the job is released" and "the first good part is off the machine": reading the print, programming, loading tools, setting work offsets, building or adjusting fixtures, running the first article and inspecting it.
Two hours of setup is two hours whether you cut 5 parts or 500. At 5 pieces it dominates the price. At 500 it is nearly invisible. That is why a customer who asks for "the price per part" without a quantity is asking an unanswerable question.
Practical points when estimating setup:
- Estimate setup per operation, not per job. A part that needs a second op on a different fixture carries two setups.
- Include programming time if no one has cut this part before. A repeat job with a proven program and saved offsets has a much smaller setup.
- Add a realistic allowance for first-article rework. Skipping it is a common source of quiet losses.
Cycle time: where the machine earns or loses money
Cycle time is the time the part spends in the machine, including cutting, rapid moves, tool changes and load/unload. It is the number you can influence most with good cutting parameters.
The tension is described clearly in the Precision Machined Products Association's economics piece: raising speed shortens cycle time and lowers labor and overhead cost per piece, but accelerates tool wear and raises tooling cost. The optimum is where the total cost curve bottoms out. The same source cautions against the "safe" habit of running slow just to preserve tools, since that often gives up the productivity that would justify more aggressive parameters.
For the theory behind computing machining times and costs from cutting data, the Machinery's Handbook chapter on machining econometrics works through examples. If you need a practical starting point for the cutting data itself, our guide to calculating feeds and speeds covers it, and the toolpath optimization article shows where cycle time hides in the program.

Material: more than the price per pound
Material cost is stock price, plus what you lose to scrap, saw kerf and the drop-off you cannot reuse. Quote the stock you actually have to buy, not the finished weight of the part. A bracket that weighs 0.4 lb may need a 2 lb chunk of bar.
A few habits that keep material honest:
- Add a scrap allowance, and raise it for tight-tolerance parts or difficult materials where a scrapped piece is more likely.
- Check minimum buy quantities and cut charges from your supplier.
- Re-quote material on long-lead or volatile alloys instead of reusing last year's number.
- Note when the customer supplies material, and quote handling and risk accordingly.
Tooling: charge wear, not purchase price
Tooling is easy to ignore on a single quote and costly to ignore across a year. The right figure is the tool's price divided by the parts (or minutes) it actually delivers before it must be replaced, plus inserts, holders and coolant where relevant.
That means you need real tool life data. Logging how many parts or minutes each tool gives you, by material and by speed, turns a guess into a number you can defend. Tool life is also one of the assumptions that most often breaks an estimate, so it is the first thing to check when a job runs over.
Overhead and the shop rate
Overhead is the part of the cost that does not attach to any one job: building, power, insurance, software, machine ownership, maintenance and supervisory time. Most shops fold it into an hourly shop rate.
The weak way is to add an arbitrary percentage to labor. The defensible way is to total a full year of operating costs for the machine or cell and divide by the hours you realistically expect to bill, not the hours the shop is open. Machines sitting idle still cost money, so the idle time has to be priced into the billable hours.
Here is an illustration with made-up round numbers, not a benchmark:
- Annual cost to run one machining cell (machine payments, operator wages and burden, tooling base, utilities, space, software, maintenance): $133,000
- Hours open in a year: about 2,080
- Hours realistically sold after setups, breakdowns and gaps in the schedule: 1,400
- Shop rate: $133,000 ÷ 1,400 = $95 per hour
Divide by 2,080 instead and you get $64 per hour. Quote at that and every sold hour loses about $31. For a fuller walkthrough of formulas, see our article on overhead rate calculation.
Labor is the largest slice of that rate in many shops. For context, the U.S. Bureau of Labor Statistics reports a median annual wage for machinists of $58,750 as of May 2025, before benefits, payroll taxes and the other burden that sits on top of the paycheck.
Finishing, inspection and outside processes
Deburring, anodizing, plating, heat treat, and inspection with a CMM or gauges are often quoted last and forgotten first. Treat them as separate lines:
- Hand work: deburring and cleanup at the actual labor rate, not the machine rate.
- Outside processes: vendor price, freight both ways, and the schedule risk of waiting on it.
- Inspection: a fixed first-article portion plus a per-part portion that rises with tolerance count and sampling plan.
Tight tolerances raise cost in several places at once: slower finishing passes, more inspection, more scrap risk and sometimes a different machine or fixture.
A worked example at 5, 50 and 500 pieces
The numbers below are illustrative. Take an aluminum bracket with these inputs:
- Shop rate for the machine: $95 per hour
- Setup and programming: 2.0 hours, or $190 per batch
- Cycle time: 12 minutes (0.2 hour), or $19.00 per part
- Material, with a 5% scrap allowance: $12.08 per part
- Tooling wear: $1.40 per part
- Deburring, 5 minutes at $60 per hour: $5.00 per part
- Inspection, 3 minutes at $60 per hour: $3.00 per part
- Margin: 20% on cost
| Cost line | 5 pieces | 50 pieces | 500 pieces |
|---|---|---|---|
| Setup per part | $38.00 | $3.80 | $0.38 |
| Cycle time | $19.00 | $19.00 | $19.00 |
| Material | $12.08 | $12.08 | $12.08 |
| Tooling | $1.40 | $1.40 | $1.40 |
| Deburr and inspect | $8.00 | $8.00 | $8.00 |
| Cost per part | $78.48 | $44.28 | $40.86 |
| Price at 20% margin | $94.18 | $53.14 | $49.03 |
Two lessons show up. First, the same part costs nearly twice as much at 5 pieces as at 50, entirely because of setup. Second, past 50 pieces the price barely moves unless you cut cycle time, which is where the next dollar of savings lives. Dropping the cycle from 12 to 10 minutes saves $3.17 a part at this rate, far more than any further setup trimming at 500 pieces.
A part that repeats is a different case again. If the program, fixture and offsets are saved and reused, the second order's setup may shrink sharply. Quote repeat work with the actual setup history, not the first-run figure.

How accurate does an estimate need to be?
Not every number deserves the same effort. AACE International's classification system defines five estimate classes by project maturity. A Class 5 concept screening, at 0 to 2% maturity, carries ranges as wide as -20% to -50% on the low side and +30% to +100% on the high side. A Class 1 estimate at 65 to 100% maturity narrows to roughly -3% to -10% and +3% to +30%. That framework was written for process-industry projects, not job shops, but the principle carries over.
In a shop it looks like this:
- A ballpark for a customer sketching a design can be quick and wide. Say so, and give a range.
- A firm quote from a full print, with known material, tolerances and quantity, should be built line by line like the table above.
- A rush quote from a drawing you have not read closely is a gamble. Price the uncertainty in, or ask questions first.
Where the market's hourly rates fit
Search results for hourly rates show wide spreads, from low double digits per hour for basic three-axis work to well over $100 for five-axis. Those ranges mix equipment types, regions, and what is included, so treat them as a sanity check and not as your rate. Your rate should come from your own costs and your own billable hours. If your built-up number sits far outside what comparable shops in your area charge, check your inputs before you check the market.
Common mistakes that quietly erode margin
- Dividing overhead by clock hours. Use billable hours.
- Hiding setup in cycle time. It will look fine at 500 pieces and fail at 5.
- Ignoring scrap and first-article losses. A single scrapped piece of expensive stock can erase the margin of a small order.
- Using purchase price instead of tool wear. The cost is per part delivered, not per tool bought.
- Forgetting machine downtime. A machine waiting on a repair earns nothing. A maintenance routine, like the CNC maintenance checklist, protects the hours you are counting on.
- Never checking the estimate against the actual. See the next section.
Close the loop: compare estimate to actual
The most useful habit in estimating is reviewing finished jobs against the original quote. Practitioners in the Precision Machined Products Association's estimating guide describe it as "Monday morning quarterbacking": find where reality diverged, whether in tool life, cycle time or setup, and feed that back into the next quote.
A simple routine:
- Record actual setup time, run time per part, scrap count and tool changes on every job.
- Compare each to the estimate line by line.
- Flag any line off by more than, say, 15%, and note the cause.
- Update your standard times for that material, machine or part family.
After a few months you have your own data instead of rules of thumb. Our posts on job profitability analysis and a defensible CNC quoting process go deeper on turning that data into decisions, and our machining cost estimation guide covers where shops typically find savings.
Our perspective: put the numbers where the work happens
We build Availzye Machinist Pro for machinists and shop owners, and the pattern we see in the way cost data is handled is consistent. The calculation is rarely the hard part. The hard part is that the inputs live in different places: cutting parameters in one app, job times on paper, tool usage in someone's head, maintenance in a binder.
That is why we combine physics-based calculators (feeds and speeds, tool deflection, power and torque, chip thinning, chatter prediction) with a job tracker, tool crib with tool life logging, and maintenance tracking in one cloud-synced application. When the cutting data, the tool life and the job record sit together, the estimate-versus-actual review stops being a weekend project and becomes part of finishing a job.
Our view is that a good cost breakdown is not a one-time spreadsheet. It is a living record that gets a little more accurate with every job you close out. Whatever tool you use, keep the setup, cycle, tooling and overhead lines separate, and keep the actuals.
— Availzye
Build the breakdown inside your shop software
If you want the estimate, the job record and the tool data in one place, our Cost Estimator is built for exactly this breakdown, and the Job Tracker keeps actual times next to the quote. Plans are Individual at 9.99 CAD per month, Small Shop at 24.99 CAD per month and Team at 49.99 CAD per month, with a 7-day free trial. You can compare them on the Availzye Machinist Pro home page.
FAQ
How do you calculate the cost of machining a part?
Add setup cost spread over the order quantity, cycle time multiplied by your shop rate, material with scrap allowance, tooling wear, and finishing and inspection. Then add your margin. Overhead sits inside the shop rate, so do not add it a second time.
How much does it cost to have something machined?
It depends on quantity, material, tolerances and part complexity, so a single figure is misleading. As the worked example above shows, the same part can cost close to twice as much per piece at 5 units as at 50 because of setup alone. Send a drawing with a quantity to a few shops and compare the line items.
What are the five levels of cost estimation?
AACE International defines five estimate classes, from Class 5 (concept screening, widest accuracy range) to Class 1 (final bidding, narrowest range), based on how mature the project definition is. The framework is aimed at process-industry projects, but the idea applies to quoting: the more you know about the job, the tighter the estimate can be.
Should overhead be a percentage of labor?
A flat percentage of labor is easy but often arbitrary. A more defensible method totals a year of actual operating costs for the machine or cell and divides by the hours you realistically bill. It reflects idle time and shows what each sold hour must earn.
Sources
- Machinists and Tool and Die Makers, Occupational Outlook Handbook, U.S. Bureau of Labor Statistics
- Machining Economics 4 Factors, Precision Machined Products Association
- Estimating guide, Precision Machined Products Association (PDF)
- Cost Estimate Classification System 18R-97, AACE International (PDF)
- Machinery's Handbook, 31st Edition, machining econometrics chapter